Bambu Studio for Beginners: Open a Ready-Made 3MF and Print It in 5 Steps
A ready-made 3MF project is the easiest thing to print in Bambu Studio: the designer has already set the plate, colors and settings. Here is the whole job in five steps, with the buttons named exactly as they appear, and none of the settings you can ignore.
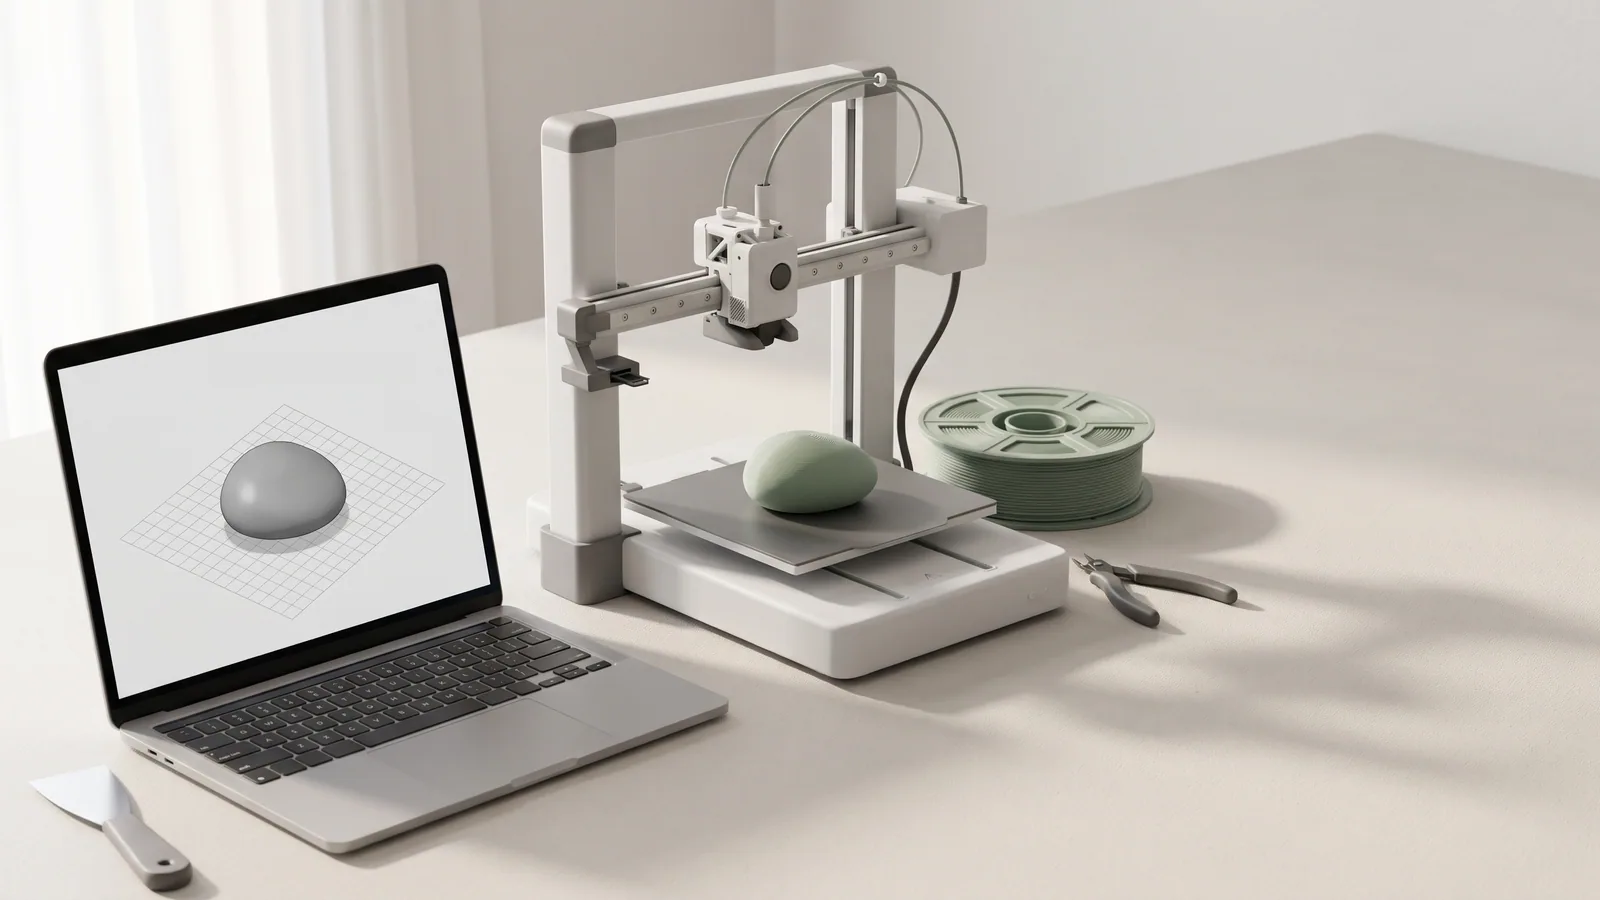
You bought or downloaded a 3D print file, it arrived as a 3MF, and the printer is sitting there waiting. The good news: a ready-made 3MF project is the easiest thing to print in Bambu Studio. The designer has already laid out the plate, picked the colors and saved the settings. Your job is to tell the program which printer and filament you have, press two buttons and watch the first layer.
This guide walks through exactly that, in five steps, in plain English. It skips the hundreds of settings you don't need for a first print. If you want something to practice on, every design on our models page ships as a ready-made 3MF project plus STL files, and we use one of them, the Worry Stones, as the worked example below.
New to the file type itself? What is a 3MF file? explains what's packed inside one and why it's handier than a bare STL.
What is Bambu Studio, and do you need it?
Bambu Studio is the free program that turns a 3D model into instructions your printer can follow. That job is called slicing: the program cuts the model into hundreds of thin layers and works out the path the nozzle takes on each one. Every 3D printer needs a slicer, and Bambu Studio is the one Bambu Lab makes for its own printers.
- It's free for Windows, Mac and Linux, from Bambu Lab's website.
- It opens 3MF projects as they were saved, with the plates, colors and settings in place.
- It sends the job to the printer over Wi-Fi, or saves it to a file you copy across by hand.
Own a printer from another brand? OrcaSlicer (free, and built on the same code) works almost the same way, and the steps below translate closely. Or use the STL files that come with most downloads in your usual slicer.
What happens the first time you open Bambu Studio?
The first launch runs a short setup. It takes a few minutes and you only do it once.
- Pick your region. Choose where you live. It matters for signing in: an account made in North America can't log in if the region is set to somewhere else.
- Install the network plug-in if it offers. This is what lets Bambu Studio send prints to your printer over Wi-Fi. Without it you can still slice, but you'll move files by hand.
- Choose your printers and filaments. Tick the printer model you own and the nozzle size (most printers ship with 0.4 mm). Then tick the filaments you use. If you're not sure, Bambu PLA Basic or Generic PLA is a safe start.
- Sign in with your Bambu Lab account if you want to print over Wi-Fi. Bind the printer once, in the Bambu Handy phone app or in Bambu Studio, and it appears in your printer list.
After that you'll see the main window. Along the top are three tabs you'll use: Prepare (where you set things up), Preview (where you check the sliced result) and Device (your printer's status and camera, if it has one).
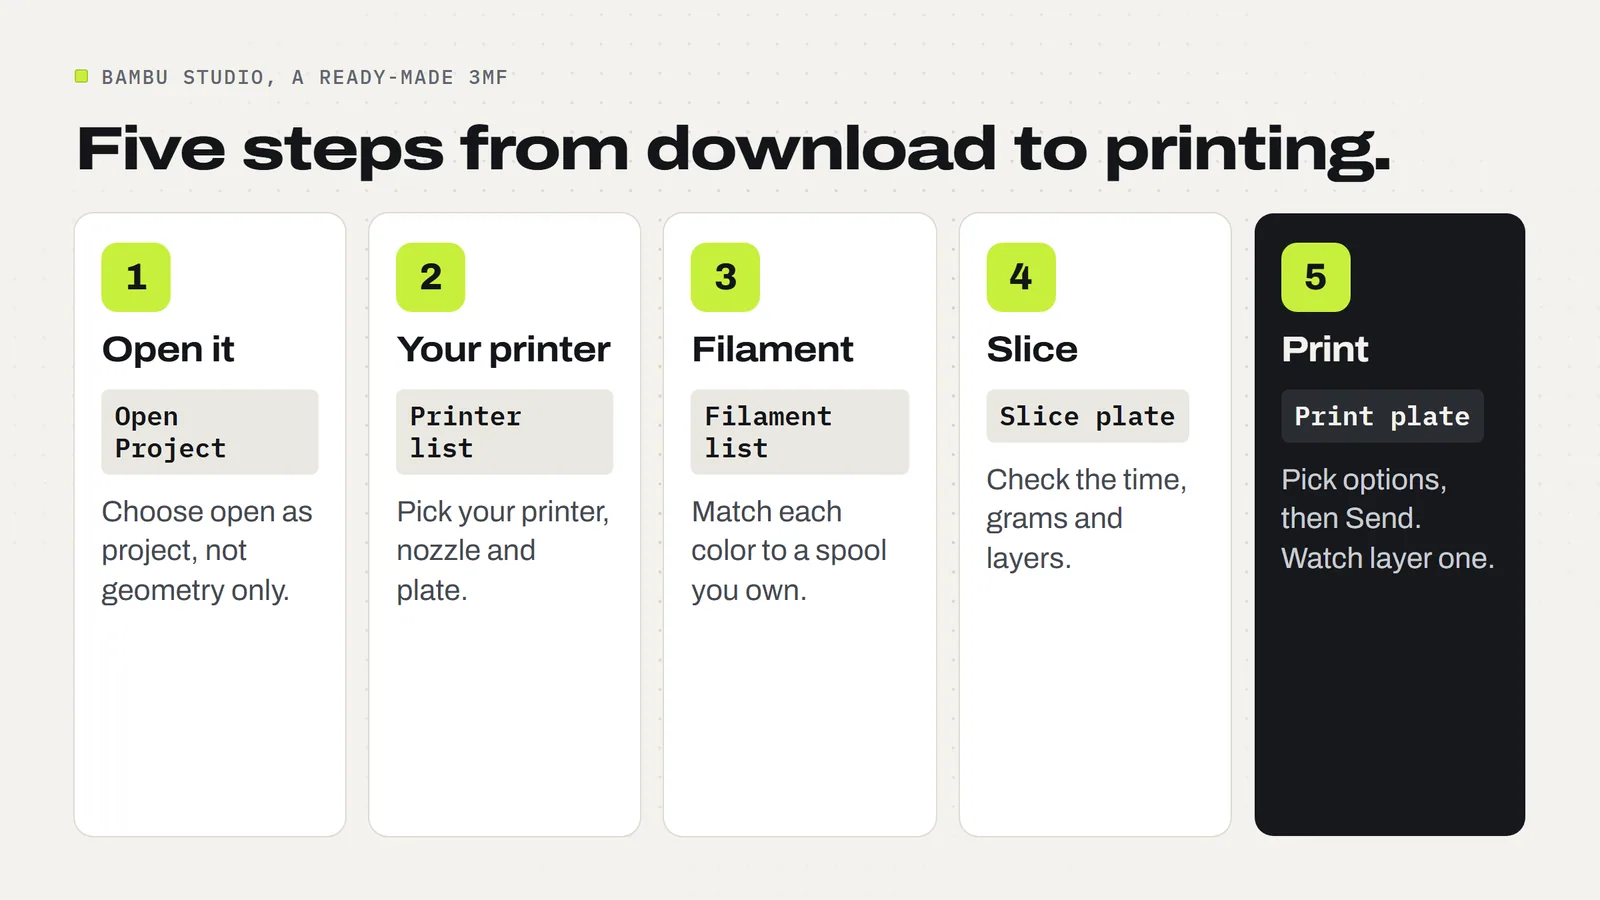
Step 1: How do you open a 3MF file in Bambu Studio?
Use File, then Open Project, and pick the 3MF. You can also drag the file onto the window, or double-click it if Bambu Studio is your default for 3MF files.
If something is already open, Bambu Studio asks how you want to bring the file in:
- Open as project brings everything the designer saved: the plates, the colors and the settings. Choose this for a ready-made download.
- Import geometry only brings in just the shapes and keeps whatever was open before. Use it only when you want to add a part to a plate you've already set up.
It may also ask whether to save changes to the project you had open. If you don't need it, say no. The easiest habit: close what's open first, then open the new 3MF, and you won't be asked at all.
Once it opens, look at the strip of plates on the right side of the 3D view. Some downloads hold several plates in one file, for example one per color or one per part. You'll slice and print them one at a time.
Step 2: How do you set your printer in Bambu Studio?
On the left, at the top, is the Printer list. Click it and choose the printer you own, with the right nozzle size. Then check the plate type just below it matches the plate on your printer (textured PEI, smooth PEI and so on). The wrong plate type means the wrong bed temperature, and that's a classic cause of prints coming loose.
Designers save a project for the printer they tested on. Our Worry Stones, for example, are set up for a Bambu Lab P2S. If yours is different, switch the printer anyway. Bambu Studio may then ask what to do with the project's changed settings. Choose Use Modified Value (the wording can differ a little by version) to carry the designer's settings over to your printer, rather than discarding them.
One check while you're here: will the plate fit? Bambu's smallest printer, the A1 mini, prints up to 180 by 180 mm. The Worry Stones' all-six plate is 149 by 110 mm, so it fits. If something sits outside the plate, the program warns you before you print. Our A1 mini size guide shows what fits and what to do when a part doesn't.
Step 3: How do you pick the filament and colors?
Below the printer is the Filament list, with one row per color the project uses. A one-color project has one row. A four-color project has four.
- Click each row and pick the filament you actually have loaded, for example PLA. The type matters more than the brand: PLA and PETG print at different temperatures.
- Click the color square to change the color shown, so the preview looks like what you'll get.
- Have an AMS? (Bambu's automatic filament changer.) Use the sync option next to the filament list to pull in what's loaded in each slot.
No AMS and the project has several colors? You can still print it. Either set every row to the same filament and print in one color, or follow the designer's notes for pausing and swapping spools. Do you need an AMS? explains which designs need one and which don't.
Leave everything else alone for your first print. The layer height, walls, infill and supports were set by the designer for this exact model. Changing them is how a tested project turns into an untested one.
Step 4: How do you slice in Bambu Studio?
Click Slice plate at the top right. If the file has several plates and you want them all, the drop-down beside it offers Slice all. After a few seconds Bambu Studio switches to the Preview tab and shows the result.
The preview is where you catch problems before they cost filament. Check three things:
- The estimate. Print time and grams of filament appear in the panel on the right. If the time looks wildly off from what the designer said, something has changed, often the printer or the plate.
- The first layer. Drag the slider on the right down to the bottom. The first layer should sit flat and touch the plate across a good area.
- The colors. On a multicolor print, scrub up through the layers and see that each color lands where you expect.
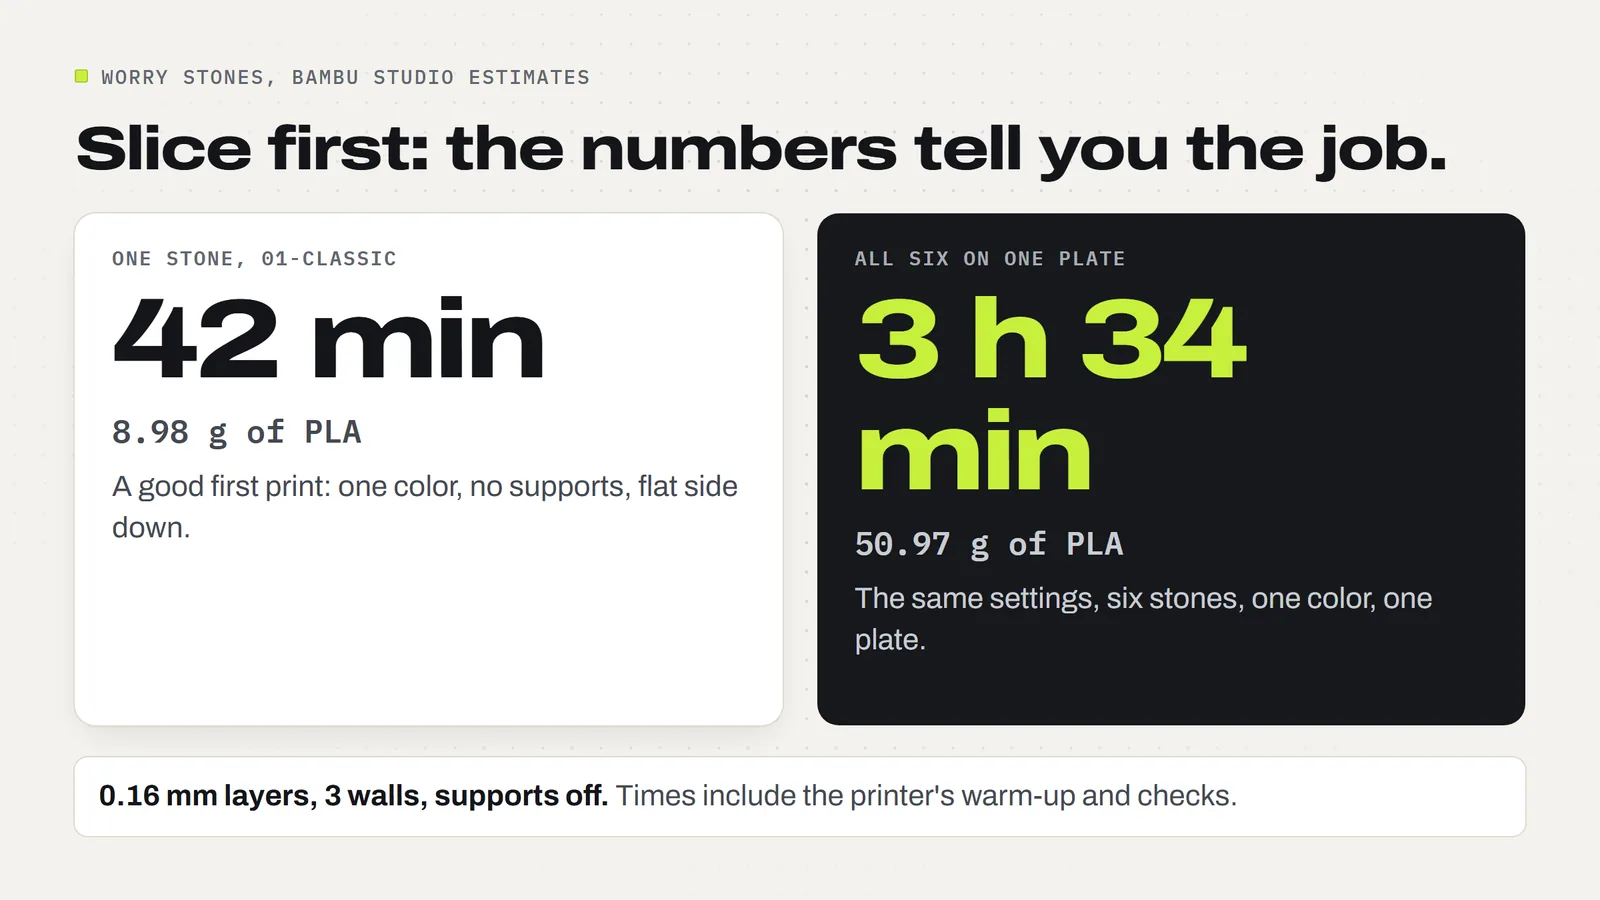
Here's what the numbers look like on a real project. Our Worry Stones project, set up for the P2S with 0.16 mm layers, slices like this:
| Plate | Size | Print time | Filament |
|---|---|---|---|
| One stone (Classic) | 35 × 45 × 11 mm | 42 min 44 s | 8.98 g |
| One stone (Heart) | 39 × 38 × 11 mm | 39 min | 8.00 g |
| One stone (Turtle) | 40 × 50 × 11 mm | 40 min 58 s | 8.08 g |
| All six on one plate | 149 × 110 × 11 mm | 3 h 34 min | 50.97 g |
Those times include the printer's warm-up and checks, which is why one stone takes 42 minutes but six take 3 h 34 min rather than six times as long. Batching small items on one plate is the cheapest way to make several. Your own numbers will differ a little by printer and filament.
Step 5: How do you print from Bambu Studio?
Click Print plate at the top right (or Print all for every plate). A window opens with a small preview, a list of your printers and a few options. Pick your printer, then look at the options:
- Auto Bed Leveling checks the flatness of the plate before printing. Leave it on for a first print.
- Flow Dynamics Calibration measures how your filament flows, for cleaner walls. Leave it on when you use a new spool. Not every printer shows this one.
- Timelapse records a video of the print if your printer has a camera. Optional, and it can add a little time.
- Filament slots appear if you have an AMS: the window shows each color matched to a slot. Check they line up, and click a slot to change it.
Click Send. The printer heats up, runs its checks and starts. To send over Wi-Fi, the printer and computer need to be on the same network, with the network plug-in installed.
No Wi-Fi? Print from a card instead
After slicing, use File, then Export, then Export plate sliced file. It saves a file ending in .gcode.3mf: the finished printer instructions. Copy it to your printer's storage card or USB stick, whichever your model takes, and start it from the printer's screen.
That sliced file is set for one printer, so slice again if you switch machines. This is also why ready-made downloads, ours included, usually ship as an unsliced 3MF project: it works for whatever printer you choose in step 2.
What should you watch during the first few minutes?
Stay with the printer for the first layer. It takes a few minutes, and nearly every failed print shows itself here.
- Good: lines are flat, slightly squished and stuck down, touching their neighbors.
- Not sticking: lines drag around or curl up. Stop the print, wash the plate with warm water and dish soap, dry it and try again. Fingerprints are the usual cause.
- Gaps or stringy lines: check the filament type in step 3 matches the spool, then reprint.
When it finishes, let the plate cool for a few minutes. Flex it gently and most prints pop off.
What are the most common beginner mistakes?
- Choosing "import geometry only". The shapes arrive but the colors and settings don't. Close the project and open the 3MF again as a project.
- Skipping the printer switch. Slicing for a printer you don't own can put the print in the wrong place or at the wrong speed. Always set your own printer in step 2.
- The wrong plate type. It changes the bed temperature. Match it to the plate actually on the printer.
- Scaling the model. Don't resize a design unless the notes say you can. Parts that click, slide or move are made with exact gaps between them, and scaling closes those gaps.
- Changing settings "to be safe". Turning supports on, for example, can fill a hollow that was meant to be empty. Print it as saved first. When you do need them on your own models, see how to add supports in Bambu Studio.
Most downloads include a short print-notes file. Ours is called START_HERE, and it lists the filament, whether you need supports and how the parts fit together. Read it once before you slice.
What should you print first?
Pick something small, one color, with no supports and no assembly. It finishes in under an hour, uses a few grams of filament and tells you your printer and settings are working. The Worry Stones fit that exactly: one piece each, flat side down, about 9 grams. A flexi print like the Peppermint Snake, which prints already joined, is a good second step.
Once you're comfortable, read Do you need an AMS? before your first multicolor job, and how to convert 3MF to STL if you ever need to take a file into another program. If you plan to sell what you make, our license lets you sell the physical prints with no limit and no royalty, and our guide to selling 3D prints covers the rest.
Ready for a first project? Browse the designs: each one opens in Bambu Studio with the plates, colors and settings already done, so the five steps above are all it takes.
Designs from this guide
 $2.49
3ML-052 · Worry stone
Worry Stones
Six pocket worry stones with a smooth, deep thumb dip: a classic oval, a rippled oval, a heart, a leaf, a paw and a turtle. STL + 3MF · 8.4 MB View model $3.79
3ML-013 · Flexi snake
Peppermint Snake
A wiggly snake made of peppermint candies, with black eyes and a red tongue. It prints in one piece, already joined, so there's nothing to put together. STL + 3MF · 23 MB View model $3.79
3ML-021 · Ornament set
Christmas Ornament Set
Six flat layered tree ornaments with bold black outlines: a snowflake, a snowman, a candy cane, a gingerbread man, a Christmas tree and a blank name banner you personalize. STL + 3MF · 8.7 MB View modelQuestions
How do I use Bambu Studio for the first time?
Pick your region, install the network plug-in, and choose your printer, nozzle and filaments in the setup. Then open a 3MF with File, Open Project, set your printer and filament, click Slice plate, and click Print plate to send it.
How do I open a 3MF file in Bambu Studio?
Use File, Open Project, or drag the file onto the window. If it asks, choose open as project, not import geometry only, so the plates, colors and settings come in as the designer saved them.
How do I slice in Bambu Studio?
Click Slice plate at the top right, or choose Slice all from its drop-down for every plate. Bambu Studio switches to the Preview tab and shows the print time, filament use and every layer.
How do I print from Bambu Studio to my printer?
After slicing, click Print plate, choose your printer, leave Auto Bed Leveling on, and click Send. Wi-Fi printing needs the Bambu Network plug-in, and the printer and computer on the same network.
Can I print from Bambu Studio without Wi-Fi?
Yes. After slicing, use File, Export, Export plate sliced file. Copy the saved .gcode.3mf file to the printer's storage card or USB stick and start it from the printer's screen.
Can I print a 3MF made for a different Bambu printer?
Usually, yes. Open it as a project, switch the Printer list to your own printer, and keep the modified settings when asked. Check the plate fits: the A1 mini prints up to 180 by 180 mm.
Do I need to change any settings before printing a downloaded 3MF?
Only your printer, plate type and filament. Leave the layer height, walls, infill and supports as the designer saved them for the first print, and read the print notes that come with the download.
Is Bambu Studio free?
Yes. Bambu Studio is free for Windows, Mac and Linux, and you can use it to slice even without a Bambu printer, though it is made for Bambu Lab machines.
Sources
- Bambu Lab Wiki: Bambu Studio quick start
- Bambu Studio source code: Slice plate, Print plate and Export menus (MainFrame.cpp)
- Bambu Studio source code: print options window (SelectMachine.cpp)
- Bambu Studio source code: open as project prompt (Plater.cpp)
- Bambu Lab store: A1 mini specifications (180 x 180 x 180 mm build volume)
Filed under Printing and slicing