Prime Tower in Bambu Studio: When to Remove It, and How to Cut Purge Waste
The little tower and the pile of poop behind your printer are the price of color. Here is what the prime tower does, when it is safe to switch off, and the settings that cut purge waste without spoiling the print.
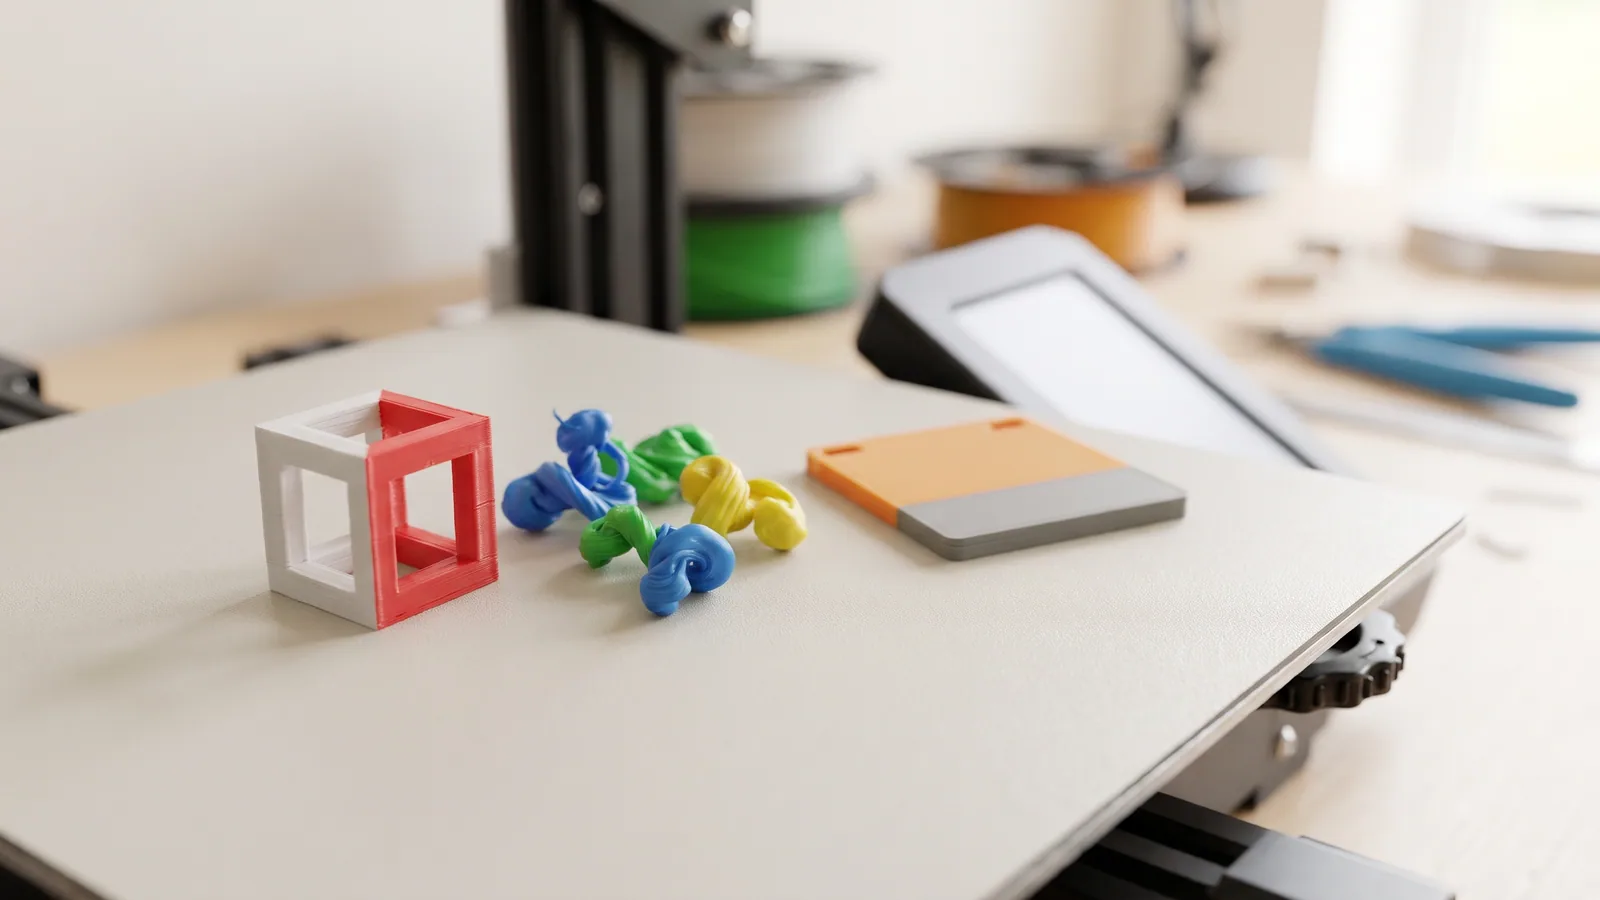
Your first multicolor print finishes and there are two extra things on the plate: a small square tower you never asked for, and a pile of plastic blobs in the bin behind the printer. The tower is the prime tower. The blobs are flushed filament, which makers call "poop". Together they can weigh more than the thing you meant to print.
The quick fix people look up is how to delete the tower. That's easy, but on a multicolor print it's usually the wrong move, because the tower is doing a job and it isn't where most of the waste goes. This guide explains what the tower is for, when you can switch it off, and the settings and plate tricks that cut purge waste without hurting the print. The numbers come from Bambu Lab's wiki and from the saved projects behind our own ready-to-print designs.
What is a prime tower in 3D printing?
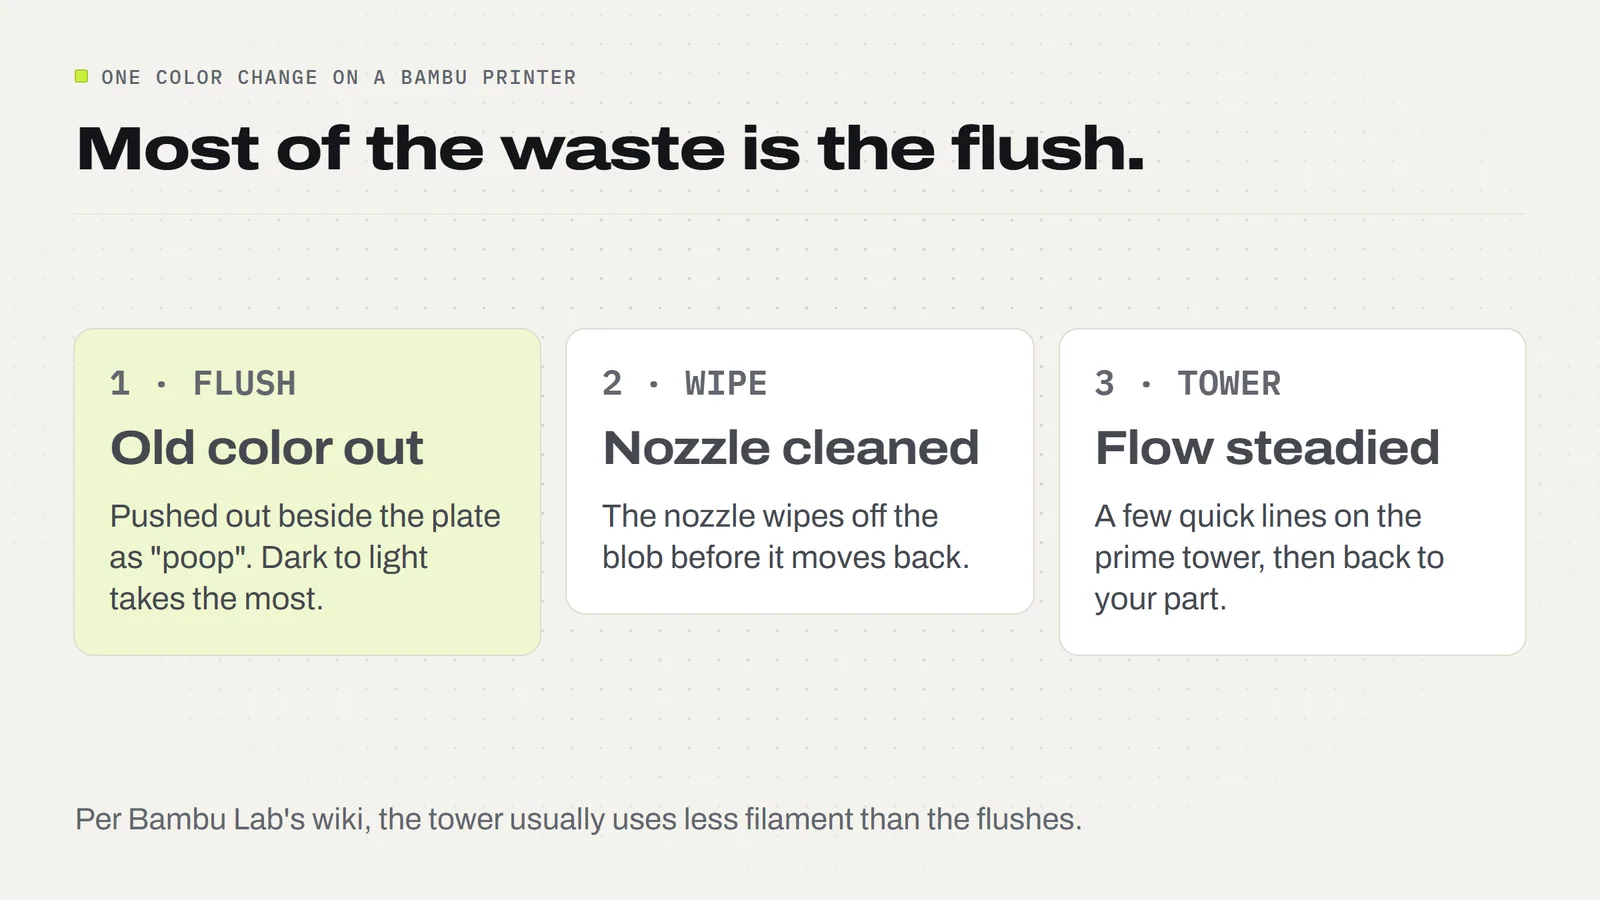
A prime tower is a small throwaway block printed beside your model. Each time the printer changes color, it wipes the nozzle on the tower before it goes back to your part.
Why bother? When an AMS (Bambu's automatic filament changer) swaps colors, the printer first pushes the old color out of the nozzle. Bambu calls that flushing. After the flush, a little old plastic can still cling to the tip, and the pressure inside the nozzle isn't steady yet. Bambu's wiki says the tower cleans off that residue and steadies the nozzle so the next lines on your model come out clean. It works much like the short line a printer draws at the front of the plate before every print, only it keeps going for as long as the colors keep changing.
Two details catch people out:
- It only appears when needed. The tower is switched on by default, but Bambu Studio only puts it on the plate for multicolor jobs, or when you record a timelapse in Smooth mode.
- It grows to the last color change. The tower is printed from the first layer up to the last layer that changes color. If your only color change is near the top, the printer builds a full-height tower just to reach it.
Where does the waste actually go?
Most of it goes out the back as poop, not into the tower. Bambu's wiki says the tower tends to use less filament than the flushes, because it prints fast and sparse, a bit like support.
How much gets flushed depends on the two colors. Going from dark to light takes far more than light to dark, because a trace of black shows up in white straight away. Our Peppermint Snake project prints white, red and black, and Bambu Studio's saved flushing table for it shows the spread:
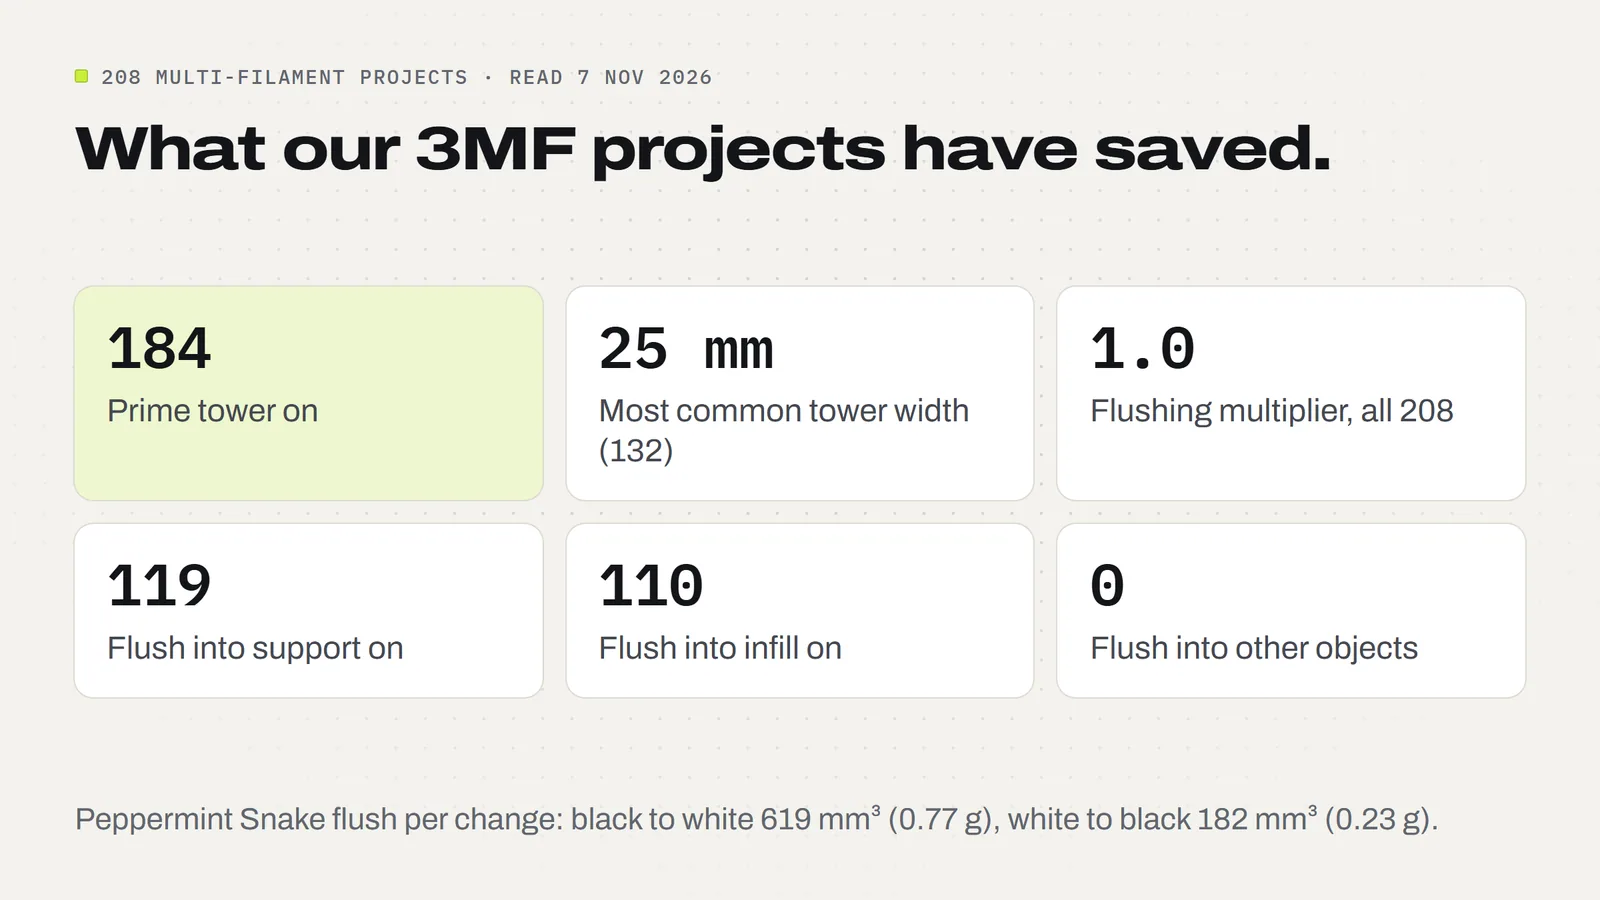
- Black to white: 619 mm³ per change, about 0.77 g of PLA.
- Red to white: 610 mm³, about 0.76 g.
- White to red: 305 mm³, about 0.38 g.
- White to black: 182 mm³, about 0.23 g.
(Grams use PLA's density of 1.24 g per cm³ from Bambu's PLA Basic data sheet.) Under a gram sounds harmless until you count the changes. A print usually changes color once per layer for each extra color in that layer, and there are hundreds of layers.
How much filament does a multicolor print waste?
Here is a real one. Our Chattering Nutcracker keychain in full color makes 288 color changes. Bambu Studio estimates the full plate at 109.56 g of PLA and 10 h 11 min. The same plate in one color is 24.01 g and 1 h 40 min.
So color costs about 85 g of extra filament on a keychain that weighs about 24 g in one color. That works out to roughly 0.3 g per change, spread across flushing and the tower. The point isn't that the nutcracker is wasteful. Small, detailed, multicolor items are just like that, and it's why the levers below matter.
How do you remove the prime tower in Bambu Studio?
If you've decided you don't need it, it takes a few seconds:
- Open the project and pick the plate.
- In the print settings panel, go to Process (Global), then the Others tab.
- Find the Prime tower section and untick Enable.
- Slice again and check the preview.
If you only want it out of the way, you don't have to delete it. You can drag the tower to a different spot on the plate in the Prepare view, and the Width setting in the same Prime tower section makes it smaller. Bambu's wiki notes you have to untick Rib Wall before you can set your own width.
Should you remove the prime tower?
Usually not, on a multicolor print. Here's how to decide:
- Print with one color? There's nothing to remove. Bambu Studio only adds the tower for multicolor jobs or Smooth-mode timelapses.
- Getting a tower on a one-color print? Check the timelapse setting. Switch it to off or to the normal mode and the tower goes away.
- Multicolor with an AMS? Keep it. Without the tower, the first lines after each change are more likely to show blobs, gaps or a smear of the old color. You also lose the flush-into options below: Bambu's wiki says flushing into supports won't take effect unless the tower is on, and makers on Bambu's forum note the slicer asks for the tower before it will flush into infill too.
- Colors in stacked bands? If each color sits in its own run of layers, like a sign with black lettering on a white base, you may not need the AMS at all. A single pause and a spool swap by hand prints it with no flushing and no tower. Our guide on whether you need an AMS walks through it.
Most of our multicolor project files keep the tower on (184 of 208). The Peppermint Snake's print notes say it outright: keep the scale at 100%, leave every part where it is, and keep the prime tower.
How do you reduce purge waste in Bambu Studio?
You won't get the waste to zero on a single-nozzle printer, but you can cut it a lot. These are the main levers, roughly from easiest to most involved:
| Lever | Where | What it saves | The catch |
|---|---|---|---|
| Fill the plate | Add copies before slicing | The flushing is shared by every part on the layer | Longer single job; a failure costs more |
| Flush into infill | Process, Others | Flushed plastic becomes hidden infill | Can show through light, clear or thin-walled parts |
| Flush into support | Process, Others (on by default) | Flushed plastic becomes support you throw away anyway | Small gain if the print has little support |
| Flush into this object | Objects tab, per object | A spare part soaks up the flush | That part comes out in mixed colors |
| Lower the multiplier | Flushing volumes button | 0.9 is 10% less flushing per change | Too low shows as tinted layers; test first |
| Thicker layers | Layer height | Fewer layers, fewer changes | Coarser surface |
| Turn the part | Rotate on the plate | Fewer colors per layer | Can need more support; can also make it worse |
A few of these need a closer look.
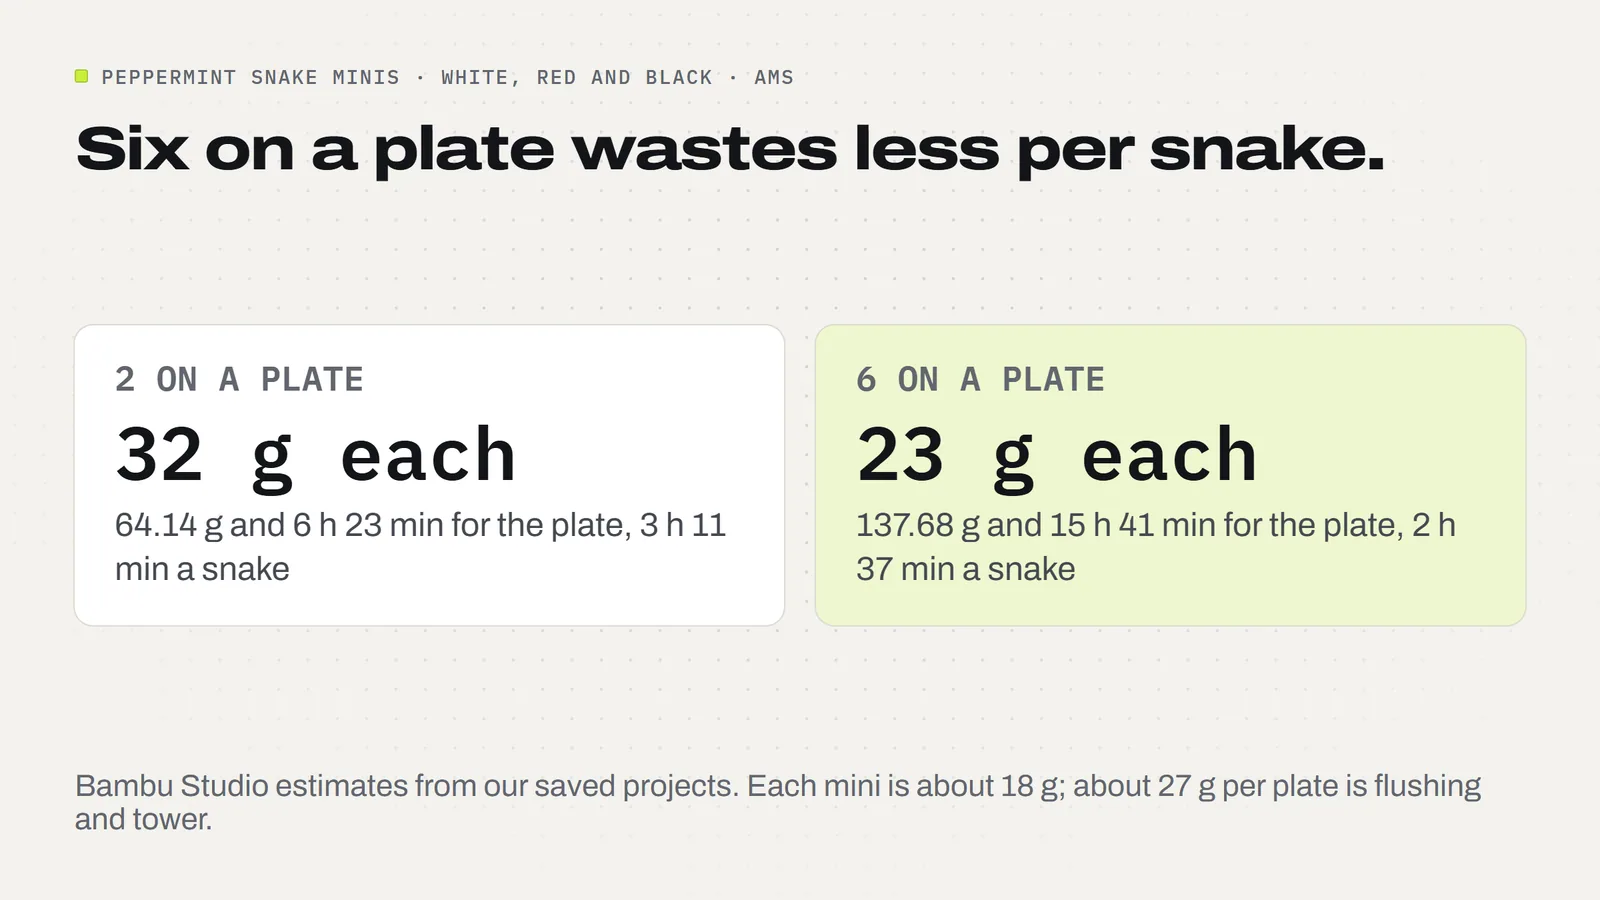
Fill the plate. This is the one most sellers skip and the one that pays most. The printer changes color once per layer no matter how many parts share that layer, so ten parts flush about as much as one. Our Peppermint Snake shows it. The two-mini plate is 64.14 g and 6 h 23 min, about 32 g and 3 h 11 min a snake. The six-mini plate is 137.68 g and 15 h 41 min, about 23 g and 2 h 37 min a snake. Working back from those two estimates, each mini is about 18 g of snake and the plate carries about 27 g of flushing and tower whatever you put on it. Six on one plate spreads that 27 g six ways.
Flush into infill. The flushed color goes into the inside of your part, where nobody sees it. Bambu's wiki warns that light or clear filament, and parts with few walls, can let the mixed color show through. About half our multicolor projects have it on (110 of 208).
Lower the multiplier. Click the Flushing volumes button next to your filament list. Bambu's wiki says the default amounts err on the safe side and suggests 0.8 or 0.9 as a quick saving, with a test print first. If a layer comes out tinted with the previous color, you've gone too low. You can also edit single pairs in the table, such as black to white, and leave the rest alone.
Thicker layers and turning the part. Fewer layers means fewer changes. Bambu's own example cube went from 153 changes and 83 g of waste at 0.2 mm layers to 111 changes and 61 g at 0.28 mm. Orientation can matter even more: in another wiki example, flipping a part so its color changes sat at the bottom cut the tower from 14.76 g to 9.05 g, because the tower could stop early. Always slice both ways and compare. Turning a part the wrong way can multiply the waste instead.
What do our project files use?
We read the saved settings in the live 3MF projects on 7 November 2026. Of 208 projects with more than one filament loaded, 184 have the prime tower on and 24 have it off. Every project we've saved sliced with real color changes, from the decorative lantern plates to the snake, keeps it on.
The most common tower width is 25 mm (132 projects). Flush into support is on in 119, flush into infill in 110, and none of them flush into other objects, because that would change how a part looks. The flushing multiplier is the default 1 in all 208.
That means there's room to save if you want it. If you print one of our multicolor designs often, try a multiplier of 0.9 on one plate and look closely at the light-colored areas. If they look clean, keep it. And when you're making stock for a craft fair table, print the biggest plate the file offers.
Does cutting waste change what a print costs you?
Yes, and on small multicolor items it can be most of the filament bill. On the nutcracker, the color overhead is more than three times the weight of the keychain itself. If you sell prints, count the flushed plastic as part of the cost. Bambu Studio's slice summary shows the full filament weight, waste included, and that's the number to use. Our guides on what a 3D print costs and how to price prints show the math.
If you sell the prints you make from our designs, that's what the license allows: no limit and no royalty.
Before your next multicolor print
- Leave the tower on. Move it or make it smaller if it's in the way.
- Put as many copies on the plate as fit.
- Switch on flush into infill for solid parts with dark or opaque walls.
- Try a 0.9 multiplier on one test plate.
- Slice, compare the filament weight, and keep what saves the most.
New to the slicer? Start with Bambu Studio for beginners, and if you're painting your own colors onto a model, how to paint in Bambu Studio covers that part. For what's inside a project file and why the settings come pre-saved, see what a 3MF file is. When you're ready to print, the multicolor designs in our catalog come set up with all of this already.
Designs from this guide
 $3.79
3ML-013 · Flexi snake
Peppermint Snake
A wiggly snake made of peppermint candies, with black eyes and a red tongue. It prints in one piece, already joined, so there's nothing to put together. STL + 3MF · 23 MB View model $3.79
3ML-026 · Fidget keychain
Chattering Nutcracker
A nutcracker soldier keychain whose chin swings open and clacks shut: tall black hat with a red plume, curled white hair, a big black mustache and a little white beard. STL + 3MF · 12 MB View model $3.79
3ML-008 · Lantern panels
Candy Cane Lane Lantern Panels
Four light-up candy scenes for our Modular Lantern: a gingerbread house, candy canes and peppermints, gingerbread friends and a candy-cane lamppost. STL + 3MF · 11 MB View model $2.49
3ML-012 · Lantern frame
Modular Lantern Frame
The Modular Lantern's frame, roof and carry handle. Print it once, then slide in a set of panels for every season. STL + 3MF · 2.0 MB View model $3.79
3ML-029 · Ornament set
Peppermint Candy Ornaments
Six flat layered peppermint tree ornaments with bold black outlines: a round swirl, a wrapped candy, a candy cane with holly, a star, a heart and a striped bell with a bow. STL + 3MF · 8.6 MB View model $3.79
3ML-092 · Earring collection
Christmas Treats Earrings
Four pairs of Christmas treat earrings: tree snack cakes, frosted star cookies, peppermints and sprinkle donuts. STL + 3MF · 4.6 MB View modelQuestions
What is a prime tower in 3D printing?
A small sacrificial block printed beside your model. After each color change the printer wipes the nozzle on it, so leftover plastic and uneven flow end up on the tower instead of your part.
How do I turn off the prime tower in Bambu Studio?
Go to Process (Global), the Others tab, the Prime tower section, and untick Enable. Slice again to check. On a multicolor print, moving or shrinking the tower is usually the better choice.
Why do I get a prime tower on a one-color print?
Timelapse in Smooth mode adds one, because the nozzle has to be wiped after the pause for each snapshot. Turn the timelapse off or use the normal mode and the tower goes away.
Is it safe to print multicolor without a prime tower?
It can work, but you risk blobs, gaps or a smear of the old color right after each change. Bambu's wiki also says flushing into supports needs the tower to be on.
What is Bambu poop?
The blobs of flushed filament the printer pushes out beside the plate when it changes color. They come from clearing the old color out of the nozzle, and they are usually more of the waste than the tower is.
Does lowering the flushing multiplier hurt the print?
Not if you test it. Bambu suggests 0.8 or 0.9 as a starting point. If a layer looks tinted with the previous color, the flush is too small, so raise it again.
Does flush into infill work with every color?
No. Light, clear or thin-walled parts can show the mixed color through the walls. Use it on solid parts with dark or opaque walls and several wall loops.
How do I make the prime tower smaller?
Lower the Width in the Prime tower section. Bambu's wiki says you have to untick Rib Wall first. Changing colors near the bottom of the part instead of the top also lets the tower stop sooner.
Sources
Filed under Printing and slicing