3D Print Not Sticking to the Bed? 7 Fixes for Bambu Printers
A print that slides around or pops loose usually comes down to a greasy plate or one wrong setting. Here are the fixes in the order to try them, with the first-layer settings saved in our own projects.
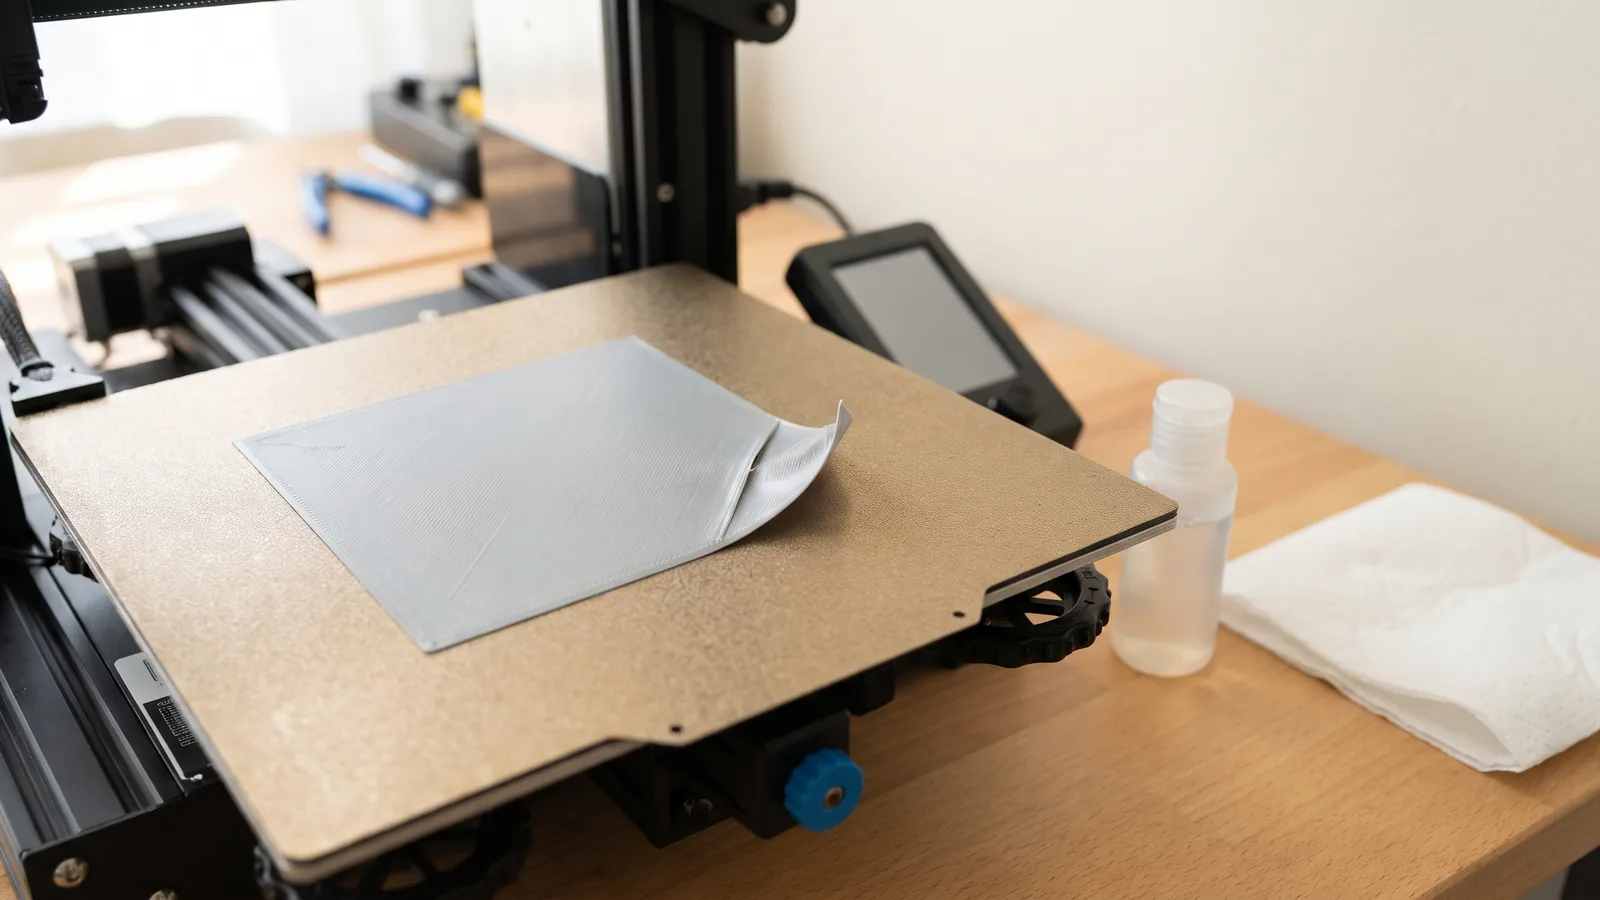
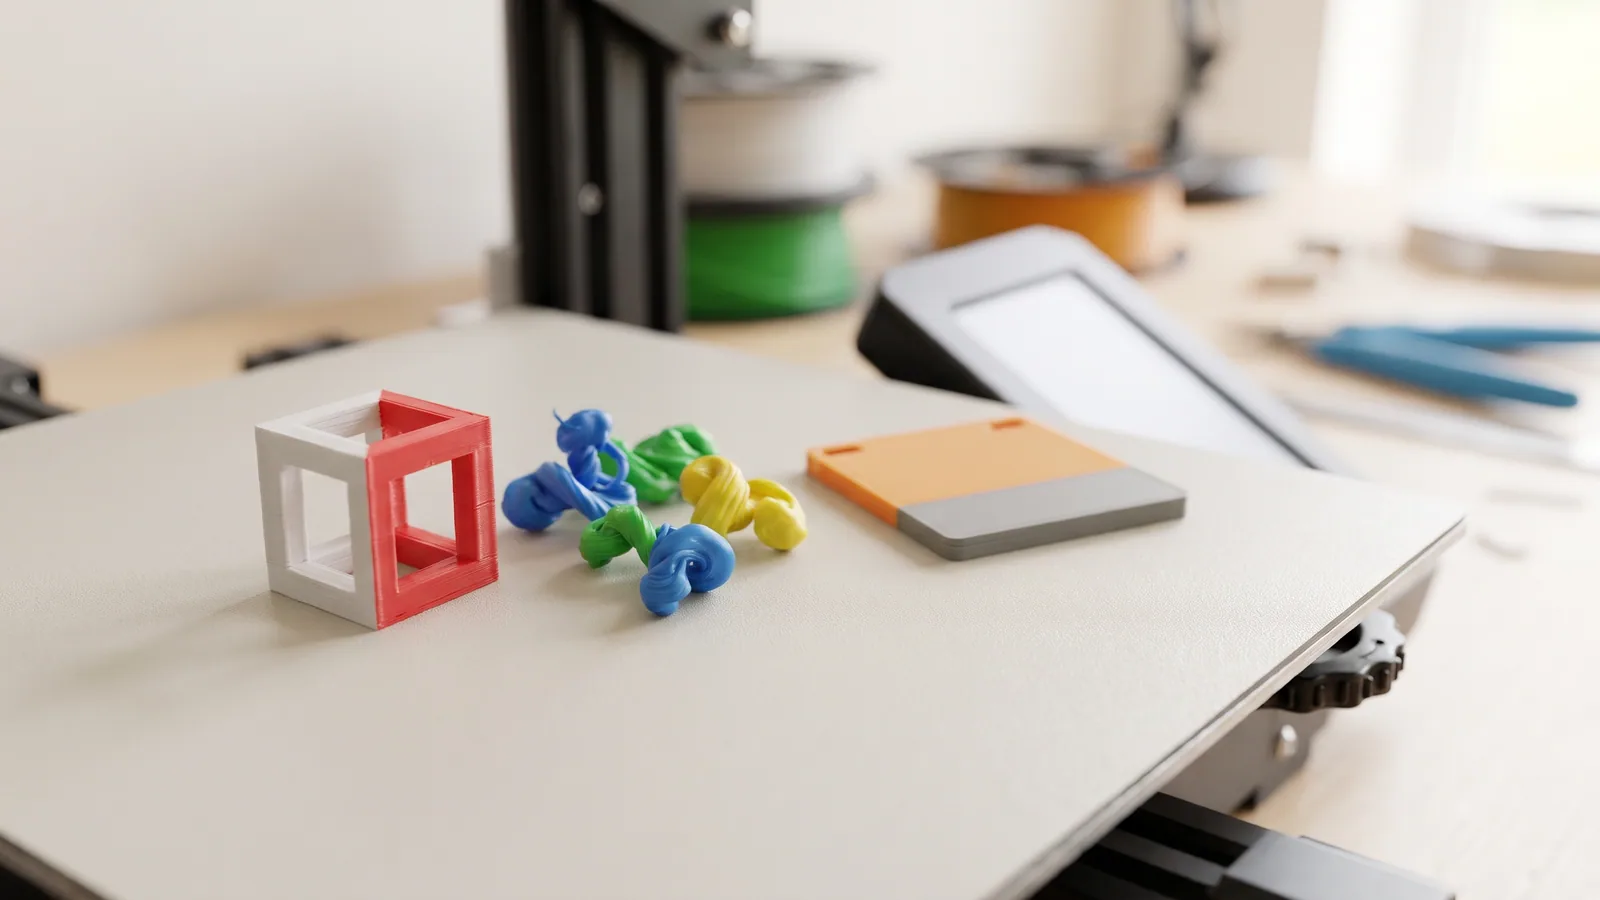
The first layer goes down, the nozzle comes back around, and the print drags across the plate like a loose sticker. Or it looks fine for an hour, then a corner curls up and the whole thing pops free. A print that will not stick to the bed is the most common problem on a new printer, and with a lot of printers about to be unwrapped, it is worth knowing the fixes before the first failed print.
The good news: on a Bambu Lab printer the cause is almost always one of a handful of simple things, and the most common one costs nothing but a sink and some dish soap. This guide goes through the fixes in the order we would try them, in plain English. If you print one of our ready-to-print designs, it also shows what is already saved in the file, so you know which settings to leave alone.
Why won't my 3D print stick to the bed?
The very first layer of a print is squashed onto the build plate, the removable sheet the printer prints on. Everything else is stacked on top of it. If that layer does not grip, nothing above it can stay put. Five things break that grip:
- Grease on the plate. Skin oil from fingers is the big one. You cannot see it on a textured plate, but plastic will not stick where it is.
- The wrong plate setting. The slicer (the app that turns a model into printer instructions, such as Bambu Studio) heats the bed to suit the plate you pick. Pick the wrong one and the bed may be too cool.
- A nozzle too high above the plate. The first layer should be pressed flat, not laid on top like a string.
- A very small footprint. Tall parts that touch the plate on a tiny spot get knocked over by the nozzle.
- Warping. Plastic shrinks a little as it cools, and big flat parts can pull their own corners up.
Here is the quick version before the detail.
| What you see | Likely cause | Try this first |
|---|---|---|
| Patchy first layer, bare spots in the same places | Grease or fingerprints | Wash the plate with dish soap and warm water |
| Nothing sticks anywhere, even on a clean plate | Wrong plate type chosen, bed too cool | Match the plate setting to the plate in the printer |
| Thin, round lines you can see gaps between | Nozzle too high on the first layer | Leave bed leveling switched on, clean the nozzle tip |
| Small or tall parts fall over halfway | Tiny contact area | Add a brim, or a thin layer of glue stick |
| Corners curl up on big flat parts | Warping as the plastic cools | Add a brim, keep drafts away |
| One area never sticks after washing | Worn spot on the plate | Print elsewhere on the plate, flip it, or replace it |
How do you clean a build plate so prints stick?
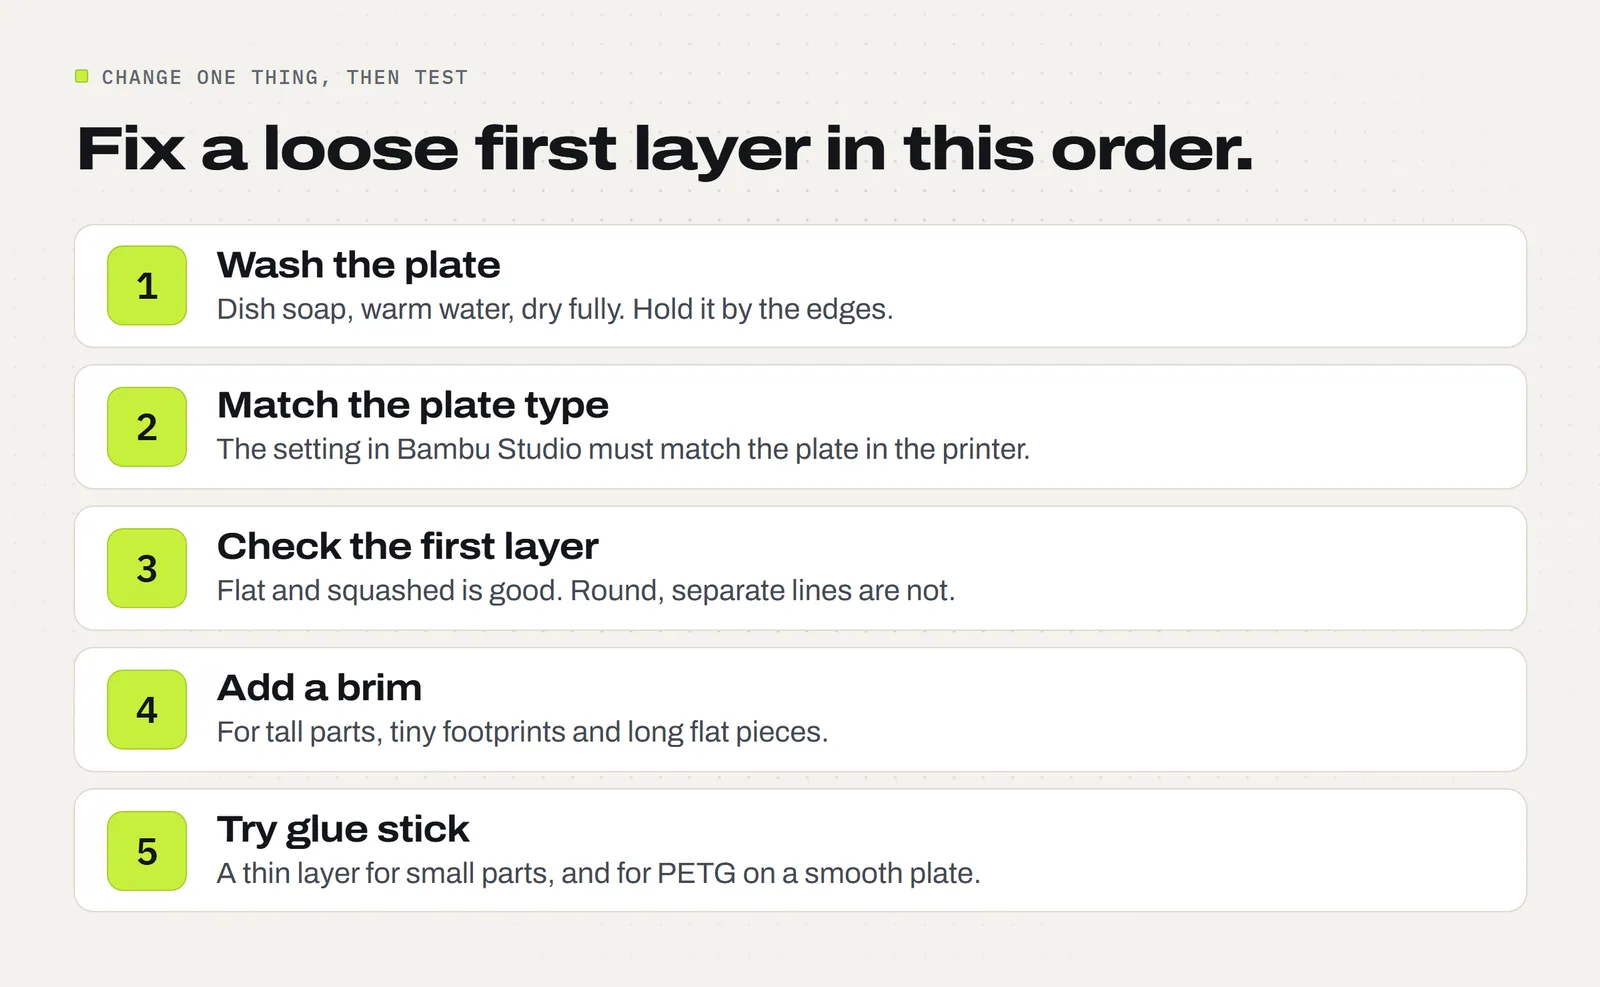
Start here, because it fixes more failed first layers than any setting. Bambu Lab's own wiki says contaminants on the textured PEI plate (the slightly rough, gold or black sheet most Bambu printers ship with) are a common reason prints stop sticking, and that washing it with warm water and detergent removes them.
- Let the plate cool and lift it off the printer.
- Wash it in the sink with warm water and a few drops of plain dish soap. Rub the whole surface with your fingers or a soft sponge.
- Rinse well, so no soap film is left behind.
- Dry it completely with a clean paper towel. Do not print on a damp plate.
- From now on, hold the plate by its edges. Every fingerprint on the print area is a small patch where the plastic will not grip.
A quick wipe with isopropyl alcohol between prints is fine, but many Bambu users find it mostly spreads oil around rather than lifting it. When adhesion drops off, a proper soap wash is the real reset. Do not use acetone or other strong solvents on a PEI plate: they can damage the coating.
How often? Whenever prints start to lift, and after anyone handles the plate with bare hands. Before a big batch for a craft fair, wash it first and save yourself a failed plate of 30 ornaments.
Does the plate type setting in Bambu Studio matter?
Yes. Bambu Studio has a plate type menu in the printer section on the left of the Prepare tab. The bed temperature comes from that choice and from the filament, so a project set up for one plate can heat the bed differently if you print it on another. If you have bought a second plate, check that the setting matches the sheet that is actually in the printer.
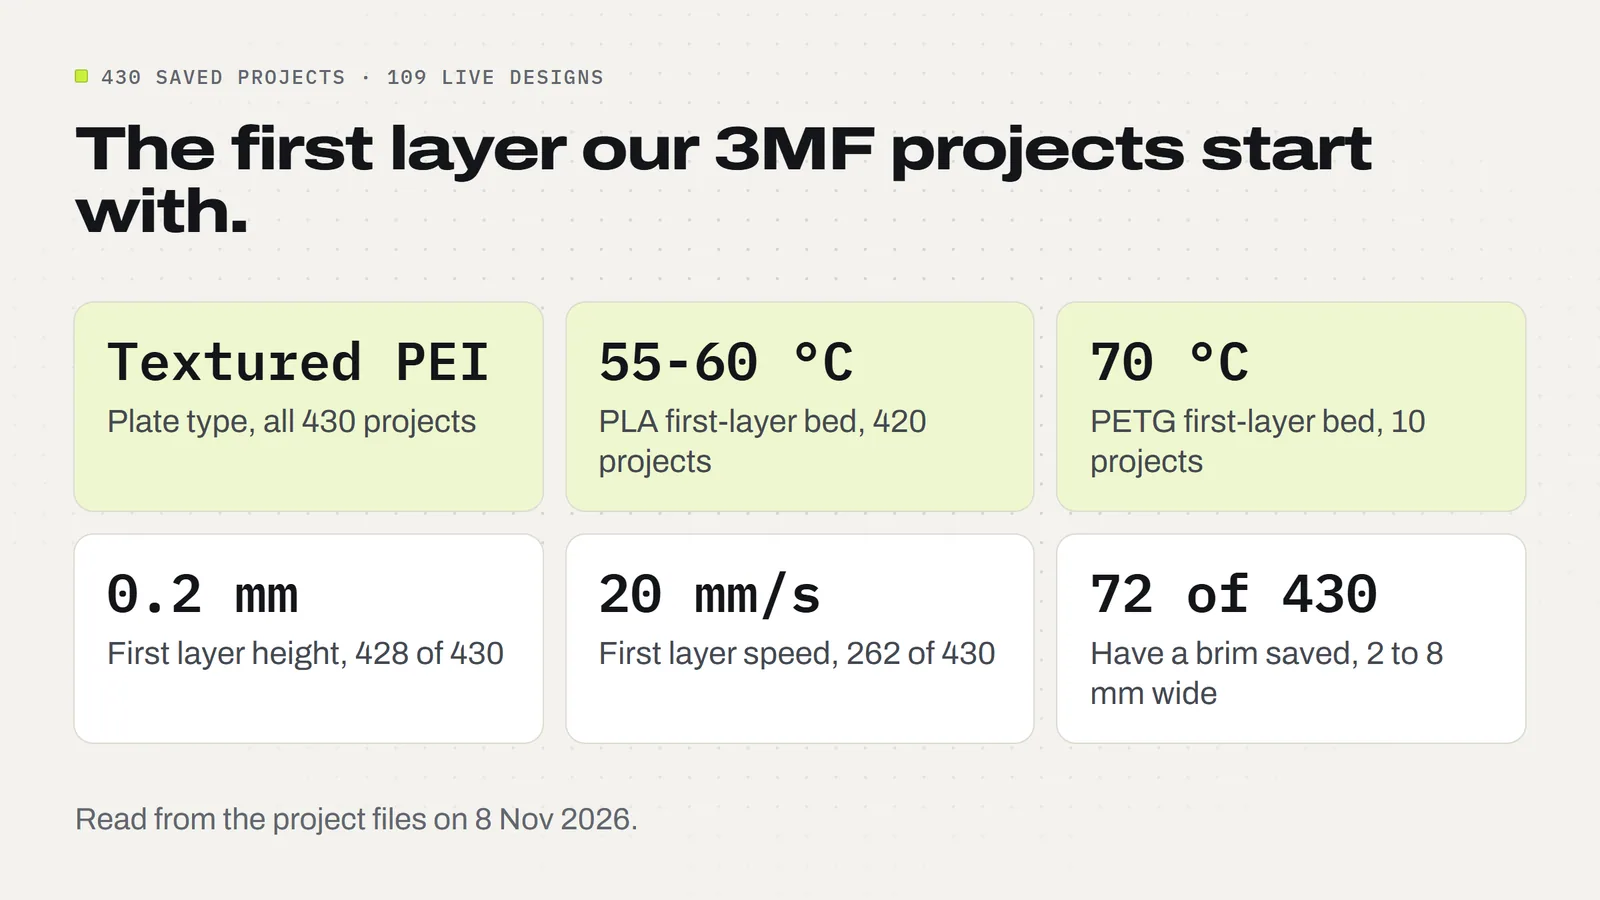
Every one of our 430 live 3MF projects is saved for the Textured PEI Plate, which is the plate most Bambu printers ship with. If you print on that plate, leave the setting alone. If you print on a different plate, change the menu before you slice, not after.
Our saved first-layer bed temperatures are 55 or 60 °C for PLA and 70 °C for PETG. If a clean plate still will not hold, raising the first-layer bed temperature by 5 °C is a reasonable next test. Change it on the filament settings, print one small test, and note the result.
Is the nozzle too far from the plate?
Look closely at the first layer. A good one is flat and slightly squashed, with the lines merging into a smooth sheet. If you can see round, separate lines with gaps between them, the nozzle laid the plastic down from too high and it has nothing to grab.
Bambu printers measure the bed for you before printing, so you do not set the height by hand. Two simple checks:
- Leave bed leveling switched on in the print dialog when you send a job. Turning it off saves a minute and can cost you the print.
- Clean the nozzle tip when it has a blob of old plastic stuck to it. A crusty tip can drag through the first layer and lift it.
Also check the first layer itself is not rushed. Most of our projects print the first layer slowly on purpose: 262 of our 430 projects lay it down at 20 mm/s, and all but two use a 0.2 mm first layer. If you have sped up a profile, put the first layer back to a slow speed before you try anything else.
What is a brim, and when should you use one?
A brim is a thin, flat ring of extra plastic printed around the base of a part on the first layer. It gives the part a wider footprint, so it is harder to knock over and less likely to curl at the corners. When the print is done, you peel it off by hand.
Most prints do not need one. Of our 430 live projects, 72 have a brim saved, and the other 358 print without one. Where we do use a brim, it is for a reason you can see:
- Tiny contact points. A spinning top stands on a point, so each top in the Spinning Tops Set prints with an 8 mm brim to keep it upright while it builds.
- Small parts with a lot of height. The bedding in the Elf Furniture Set gets 8 mm; the armchair and side table get 3 mm.
- Long flat parts. The shelf halves and legs of the Monitor Stand have a 3 mm brim against curling corners.
Our brims run from 2 mm to 8 mm wide. If a design you print keeps lifting and has no brim, add one in Bambu Studio: in the process settings, open the Others tab and set Brim type (you can also set it for one object only). Outer brim only is the usual choice, and 3 to 5 mm is enough for most things.
Should you use glue stick on a 3D printer bed?
Glue stick is a handy extra, not a first fix. A thin, even layer helps in two cases:
- Small parts that keep coming loose even on a clean plate with a brim.
- PETG, which can grip some plates so hard that it is difficult to remove and can pull at the surface. Here the glue works as a release layer as much as an adhesive. Many people print PETG straight onto a textured plate without it, but on a smooth plate glue is the usual advice.
Rub a thin layer over just the area the print will use, let it dry for a minute, and wash it off with soap and water when you clean the plate. Bambu Lab sells its own glue stick and recommends it for its plates.
Our PETG designs, such as the Christmas Light Clips, are saved with a 70 °C first-layer bed temperature on the textured plate and no brim. If PETG sticks too well for you, let the plate cool fully before you remove the clips; flexing a cold plate usually pops them off.
Why do the corners of my print lift?
That is warping. As each layer cools, it shrinks slightly and pulls on the layers below. On a big flat part, the pull adds up at the corners and peels them off the plate. PLA warps less than most plastics, which is one reason it is the easy choice for beginners (our PLA vs PETG guide compares the two).
To stop it:
- Wash the plate first. Warping starts where the grip is weakest.
- Add a brim to large flat parts.
- Keep the printer out of drafts: away from an open window, a fan or a heating vent.
- Do not lift the plate off early. Let the print cool on the bed.
When should you replace the build plate?
Plates wear. After many hours, especially if prints have been pried off with a scraper, you can end up with a dull patch where nothing sticks even after a wash. Signs it is the plate, not you:
- The same spot fails every time, and the rest of the plate is fine.
- You can see scratches, gouges or a shiny worn area.
- A soap wash fixes everywhere except that spot.
Before you buy a new one, check whether your plate has a second usable side, and try moving the print to a fresh area of the plate in Bambu Studio. If the whole surface has gone, a new plate is cheaper than the filament you will lose to failed first layers.
How do you get a print off the bed without damaging it?
The flip side of good adhesion is a print you cannot get off. Let the plate cool to room temperature first: most plastic lets go on its own as the plate cools. Then lift the plate off and gently flex it. Small parts usually pop free. Peel brims away by hand, and save the scraper for stubborn spots. Prying while the plate is hot is the fastest way to wear out its surface.
A quick first-layer checklist
- Wash the plate with dish soap and warm water, dry it fully, and touch only the edges.
- Check the plate type in Bambu Studio matches the plate in the printer.
- Leave bed leveling on, and clear any blob from the nozzle tip.
- Watch the first layer: flat and squashed is good, round separate lines are not.
- Add a brim for tall, tiny-footprint or long flat parts.
- Use glue stick for parts that still come loose, and for PETG on a smooth plate.
- Let every print cool on the plate before removing it.
New to Bambu Studio? Our beginner guide walks through opening a ready-made project and sending it to the printer, and what is a 3MF file explains why our downloads arrive with the plate, colors and settings already saved. If your prints stick but come out hairy, see how to fix stringing; if a part needs support underneath, see how to add supports in Bambu Studio. When your first layers are reliable, browse our designs: each one comes with the brim and first-layer settings already saved, and our FAQ covers what is in every download.
Designs from this guide
 $2.49
3ML-056 · Spinning tops
Spinning Tops Set
Five chunky finger-spun tops, from a classic onion top to a flip top that turns over and a little Christmas tree. STL + 3MF · 32 MB View model $3.79
3ML-104 · Elf furniture
Elf Furniture Set
A little bedroom for your Christmas elf: a bed with a star headboard and bedding that lifts out, a red armchair with a white cushion, and a round side table. STL + 3MF · 12 MB View model $3.79
3ML-070 · Monitor riser
Monitor Stand
A softly rounded desk riser that lifts your monitor 10 cm, with room to slide a keyboard underneath and a notch at the back for the cables. It goes together by hand: no screws, glue or tools. STL + 3MF · 260 KB View model $2.49
3ML-045 · Light clips
Christmas Light Clips
Four one-piece clips for hanging outdoor string lights on gutters, shingles and round porch rails, with no nails, screws or tools. STL + 3MF · 6.2 MB View model $2.49
3ML-061 · Spinning tops
Christmas Spinning Tops
Four Christmas finger tops: a tree with a star, a snowman, a snowflake disc and an ornament that flips over onto its cap. STL + 3MF · 11 MB View model $3.79
3ML-025 · Tealight houses
Village Tealight Houses
Four snowy little village houses that glow: a red cottage, an ivory church, a green shop and a gingerbread house, each with a lift-off snow roof over a battery LED tealight. STL + 3MF · 14 MB View modelQuestions
Why is my PLA not sticking to the bed?
Most often the plate is greasy from fingerprints. Wash it with dish soap and warm water, dry it fully and hold it by the edges. If it still fails, check the plate type setting in your slicer and look for a first layer that is flat and squashed, not round lines.
Should I clean my build plate with alcohol or soap?
A quick isopropyl alcohol wipe is fine between prints, but Bambu Lab's wiki recommends warm water and detergent to remove the contaminants that stop prints sticking. Never use acetone on a PEI plate.
Do I need glue stick on a textured PEI plate?
Usually not for PLA on a clean plate. Glue stick helps small parts that keep coming loose, and with PETG it also acts as a release layer so the print comes off without pulling at the surface.
What is a brim in 3D printing?
A thin flat ring of plastic printed around the base of a part on the first layer. It widens the footprint so tall or tiny parts stay put and corners do not curl. You peel it off after printing.
Why do the corners of my print lift?
That is warping: each layer shrinks a little as it cools and pulls the corners up. Wash the plate, add a brim to big flat parts, keep the printer out of drafts and let the print cool on the bed.
Why does PETG stick too well to the bed?
PETG can bond very strongly to some plates. Let the plate cool fully before removing the print, flex the plate, and use a thin layer of glue stick as a release layer, especially on a smooth plate.
How often should I wash my build plate?
Whenever prints start to lift, after anyone handles it with bare hands, and before a big batch you cannot afford to lose. A plate that is kept clean and handled by the edges needs it less often.
When should I replace my build plate?
When one spot fails every time after a proper wash, or you can see scratches or a worn patch. Try a second side if your plate has one, or move the print to a fresh area first.
Sources
Filed under Printing and slicing