3D Print Layer Height: 0.2 mm, 0.16 mm or 0.28 mm?
Layer height decides how smooth a print looks and how long it takes, and most people set it finer than they need. Here is what each setting is good for, how much time it costs, and the layer heights saved in our own 589 project files.
Layer height is the first setting most people change, and the one they change most often for the wrong reason. Thinner layers sound like "better quality", so beginners drop to the finest option, wait more than twice as long and often can't see the difference.
This guide explains what layer height does and doesn't change, which number suits which kind of print, and what we use ourselves. On 17 November 2026 we read the saved settings in 589 project files behind our ready-to-print designs. The short version: 558 of them use 0.2 mm, and the ones that don't each have a specific reason.
What is layer height in 3D printing?
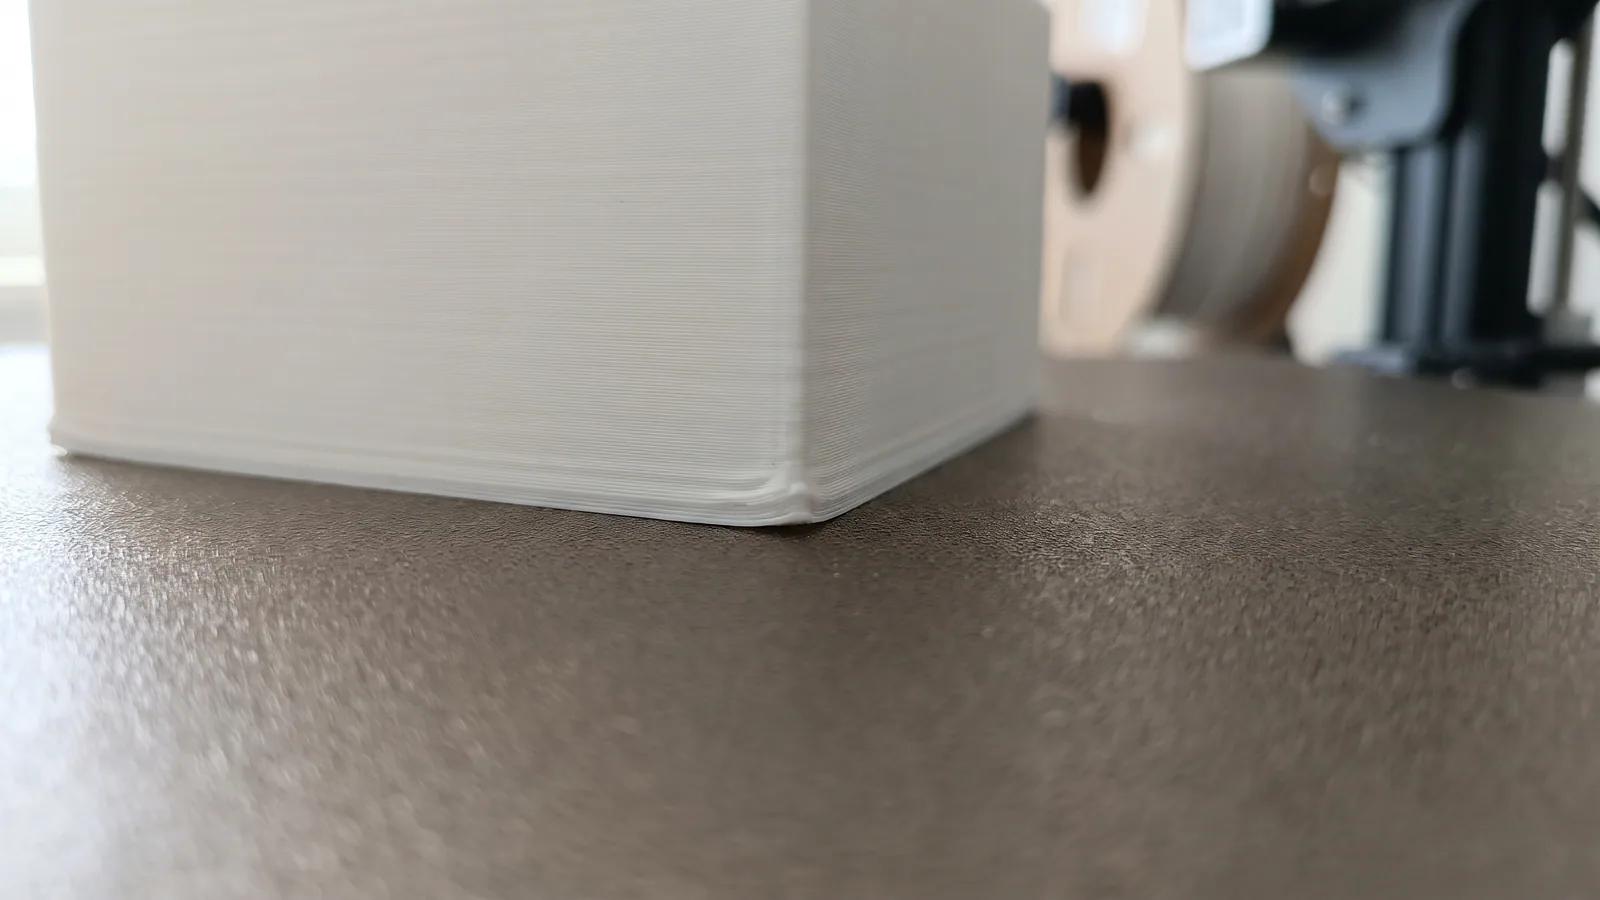
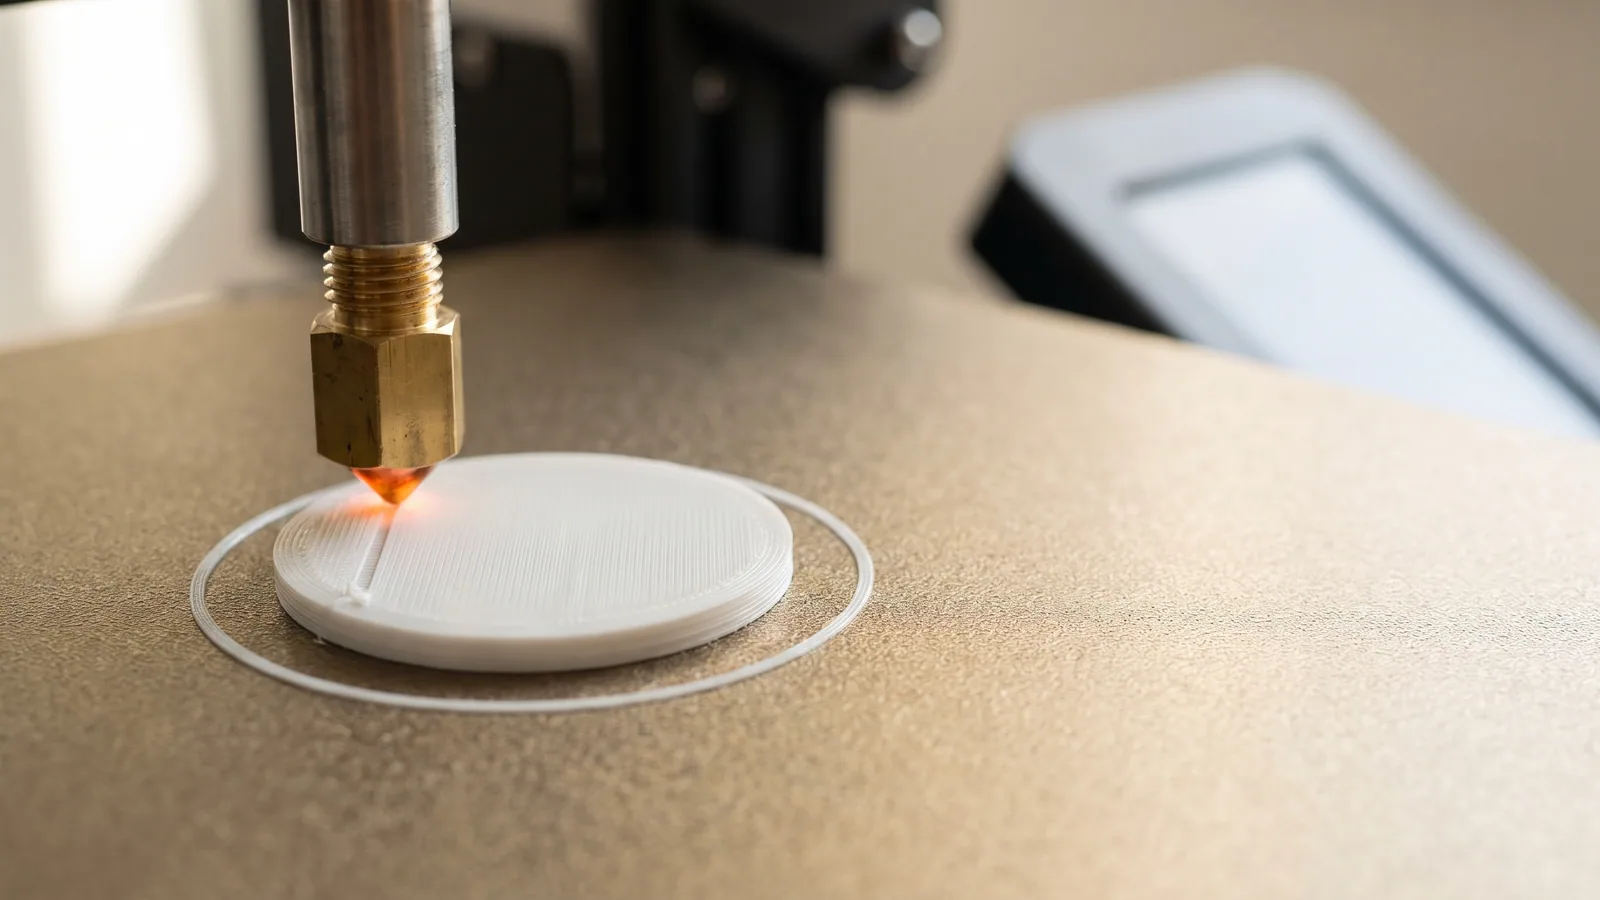
A 3D printer builds an object as a stack of thin flat slices. Layer height is how thick each slice is, measured in millimeters. At 0.2 mm, a print that stands 50 mm tall is made of about 250 layers. At 0.1 mm it is about 500.
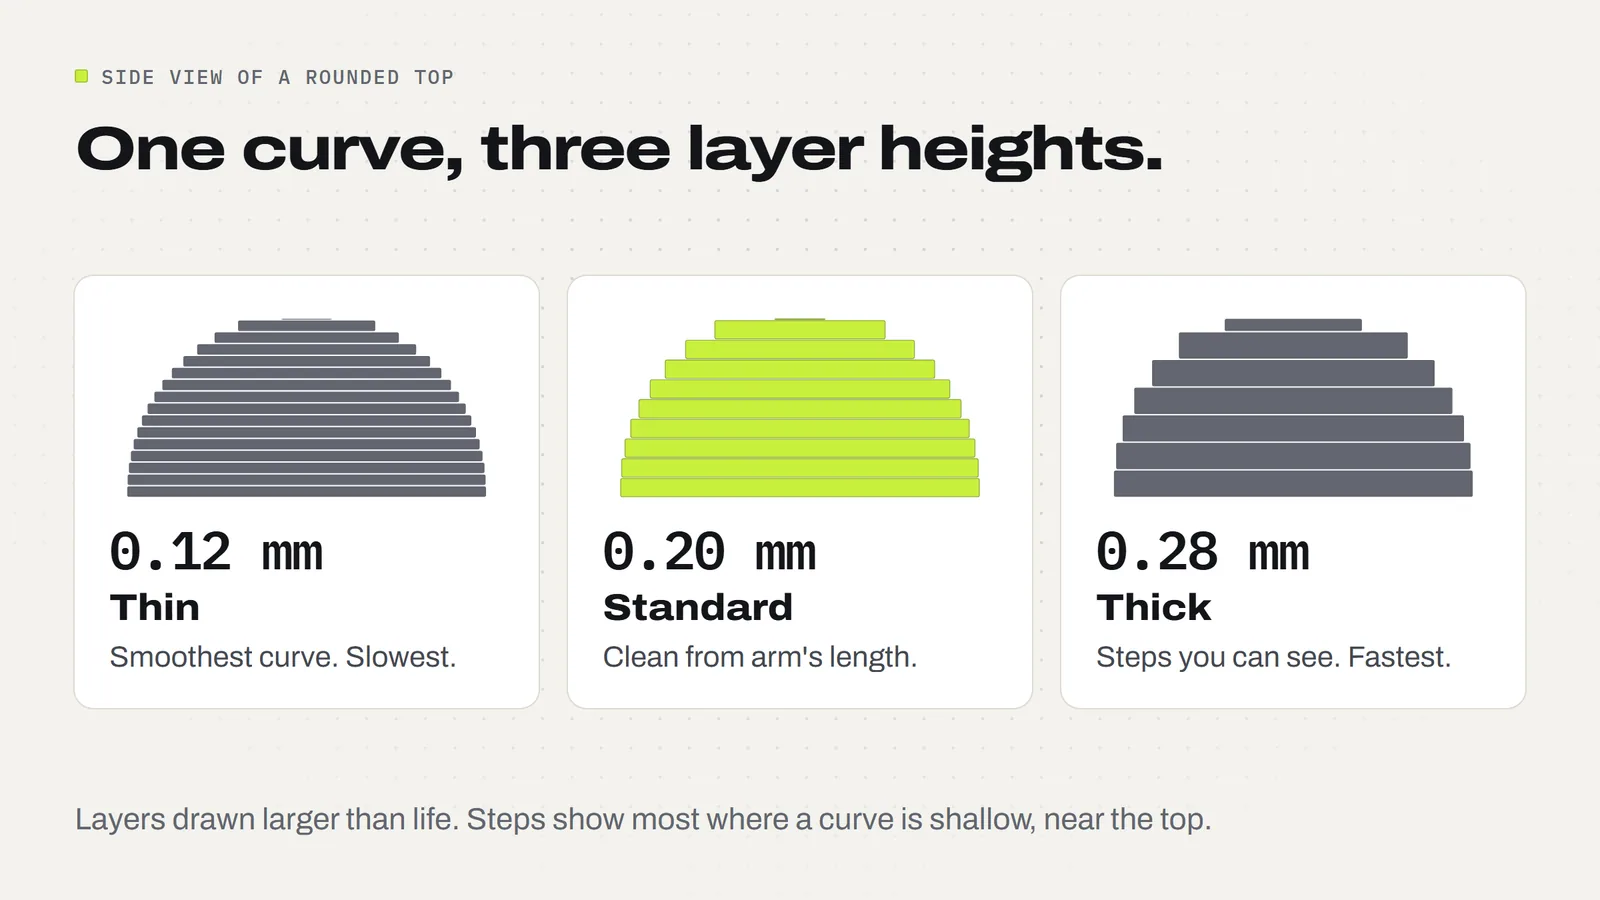
Bambu Lab's wiki calls layer height the "vertical resolution" of a print, and that is a good way to picture it. Thin layers make smaller steps up the side of a model, so curves and slopes look smoother. Thick layers make bigger steps that you can see and feel, but there are fewer of them, so the print finishes sooner.
That is the whole trade: smoother against faster. Nearly everything else people believe about layer height is a side effect of that.
What is the best layer height for 3D printing?
For a standard 0.4 mm nozzle, which is what nearly every home printer ships with, 0.2 mm is the right starting point for almost everything. It is the default in most slicers (the app that turns a model into printer instructions) because it is a fair middle: layers fine enough to look clean from arm's length and thick enough to finish in a sensible time.
Use this table to decide when to move away from it. The layer counts are for a print 50 mm tall.
| Layer height | Layers in 50 mm | How it looks | Good for |
|---|---|---|---|
| 0.08 mm | About 625 | Layer lines very hard to see | Small display pieces you will look at up close. Very slow. |
| 0.12 mm | About 417 | Fine lines, smooth curves | Miniatures, rounded tops, shallow domes |
| 0.16 mm | About 313 | Slightly finer than standard | Things held in the hand, small flexible toys, earrings |
| 0.20 mm | About 250 | Visible lines up close, clean from arm's length | Almost everything: decor, ornaments, boxes, toys, holders |
| 0.24 mm | About 208 | Lines easy to see | Big simple shapes, test prints |
| 0.28 mm | About 179 | Clear lines, rougher slopes | Large parts, hidden parts, multicolor prints where each layer is costly |
If you sell what you print, the middle of that table matters most. A buyer at a craft table looks at an item from about arm's length. From there, 0.2 mm and 0.12 mm look almost the same, and the 0.12 mm one took far longer to make. Our guide to what a print really costs shows why hours on the printer matter more than grams of filament.
How much does layer height change print time?
A lot, and it is the main reason to care. The printer has to trace every layer, so halving the layer height roughly doubles the number of trips around the model.
Bambu Lab's wiki gives a clear example, slicing one small ghost model at three heights:
- 0.08 mm: 1 hour 19 minutes
- 0.20 mm: 36 minutes
- 0.28 mm: 28 minutes
So the finest setting took more than twice as long as the standard one. Going the other way, from 0.20 to 0.28 mm, saved about a fifth of the time. The saving is smaller than the layer count suggests because Bambu's thicker-layer presets print a little slower: more plastic has to melt for each line, so the nozzle needs more time to keep up.
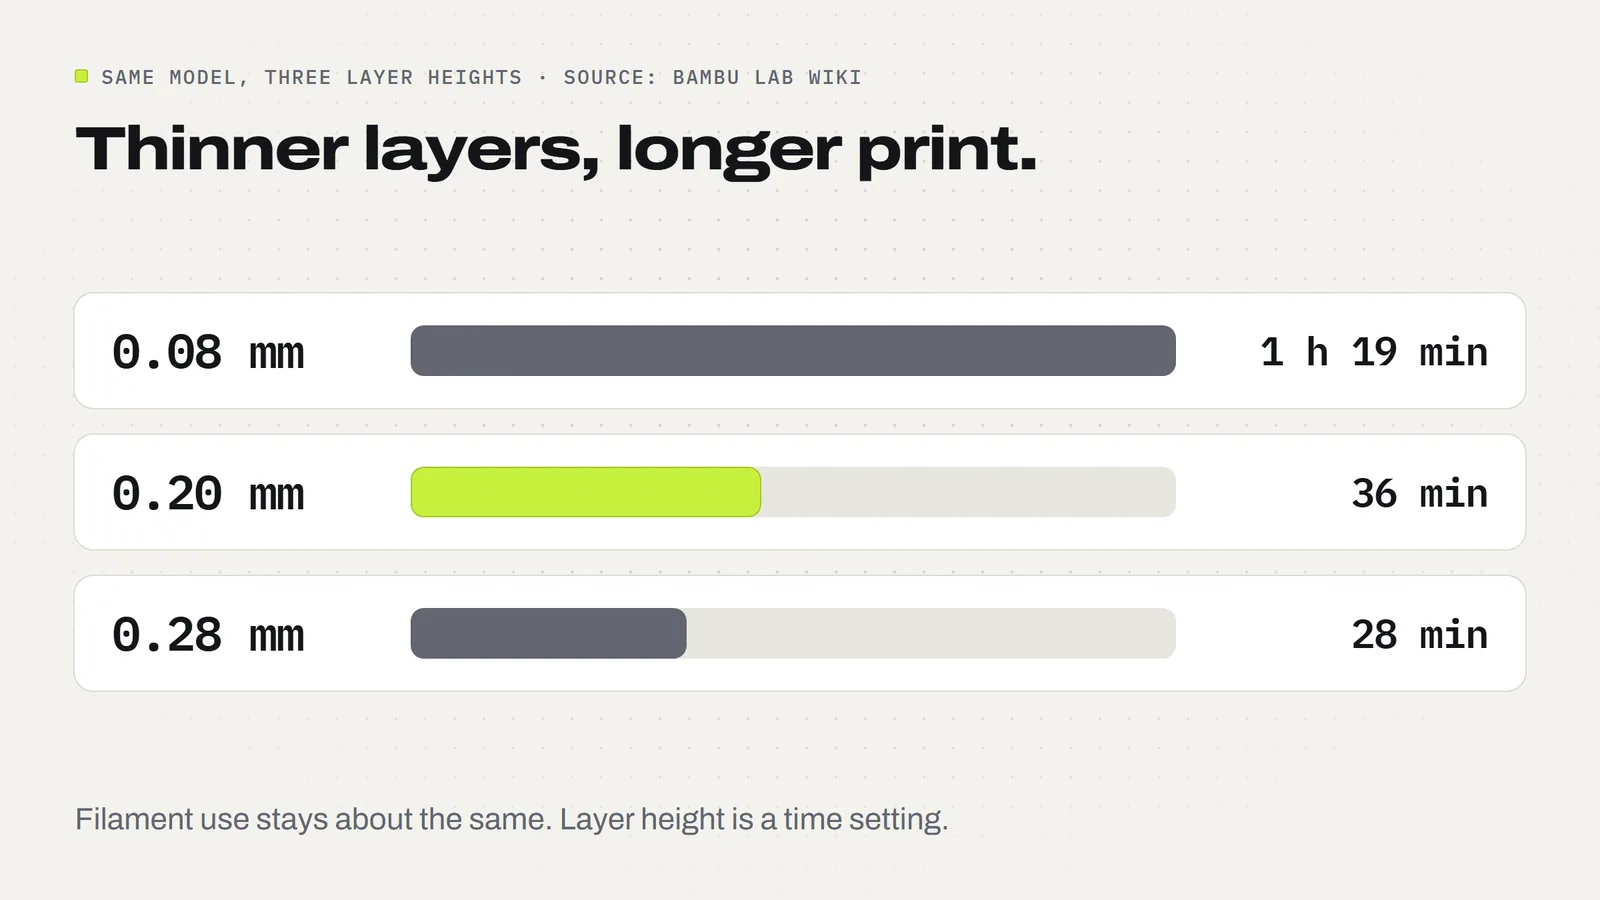
Filament use barely changes. The object is the same size whichever layer height you pick, so it holds about the same amount of plastic. Layer height is a time setting, not a material setting.
What layer height do real project files use?
Every design we sell comes as a 3MF project, a file that carries the print settings along with the shape (what a 3MF file is). That makes our own catalog easy to check. On 17 November 2026 we read the layer height saved in 589 project files across 139 design folders, including a few older versions we keep on file:
- 0.20 mm in 558 files. That is about 95 of every 100.
- 0.16 mm in 20 files.
- 0.28 mm in 7 files, and 0.30 mm in 1.
- 0.12 mm in 1 file (an older version we later replaced) and 0.10 mm in 2, both saved for a finer 0.2 mm nozzle.
- The first layer is 0.20 mm in all 587 files saved for a 0.4 mm nozzle, whatever the layers above it are.
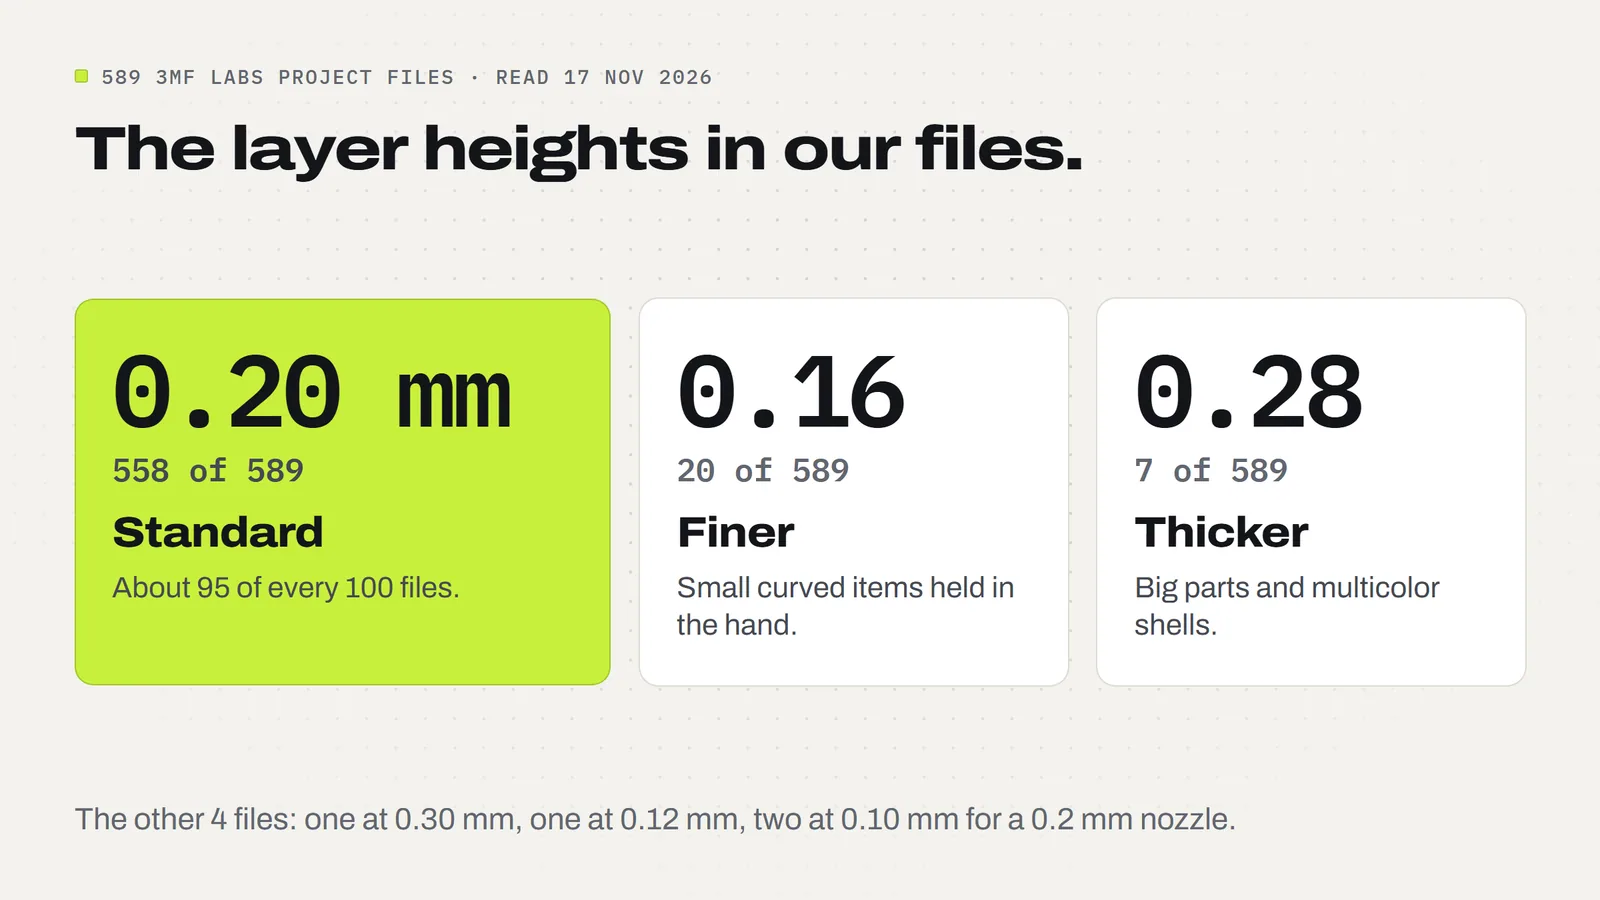
The exceptions are more useful than the rule, because each one shows a reason to leave 0.2 mm:
- Finer for the hand. The Worry Stones print at 0.16 mm because your thumb rests in a shallow dip, and shallow curves are where layer steps show most. The Peppermint Snake uses 0.16 mm too, for its small rounded segments.
- Thicker for big parts. The tall tree sections of the Christmas Tree Marble Run print at 0.28 mm, while its star and tray stay at 0.20 mm. The big pieces finish sooner, and the small pieces people look at closely keep the finer finish.
- Thicker for multicolor. The colored shells of the Penguin Clicker print at 0.28 mm. On a multicolor print the printer swaps filament on every layer that has more than one color, and each swap costs time and a little wasted plastic. Fewer layers means fewer swaps.
- The one above the usual range. The harvest cluster on the Cornucopia Candy Bowl is saved at 0.30 mm, a chunky decorative piece where speed mattered more than fine steps. The bowl itself is 0.20 mm.
Notice what is missing. Not one file uses 0.08 mm. For decor, gifts, toys and ornaments, which is most of what sells, the finest setting adds hours and nobody sees it.
How does nozzle size limit layer height?
The nozzle is the small metal tip the plastic comes out of, and its opening sets how thick a layer can sensibly be. Too thick, and the line of plastic isn't pressed down hard enough to stick to the layer below. Too thin, and the printer struggles to push out so little plastic evenly.
The makers give slightly different limits:
- Bambu Lab says a reasonable layer height is 20% to 70% of the nozzle's width. For a 0.4 mm nozzle that is 0.08 to 0.28 mm, and Bambu Studio shows that range in its printer settings.
- Prusa says to stay below 80% of the nozzle's width, which is about 0.32 mm for a 0.4 mm nozzle. It also suggests not going under 0.10 mm, because the gain in quality is small for the extra time.
For a 0.4 mm nozzle, then, treat 0.08 to 0.28 mm as the safe range and 0.12 to 0.28 mm as the useful one. A finer 0.2 mm nozzle shifts everything down, which is why our two files for that nozzle sit at 0.10 mm. A bigger 0.6 mm nozzle shifts it up.
You don't have to work any of this out. Pick a layer height preset from the list in your slicer and it stays inside the range for your nozzle. Type a number by hand only when you have a reason.
Should the first layer be a different height?
Yes, and your slicer already handles it. The first layer has one job, which is to grip the build plate, and a thicker line of plastic grips better and forgives a plate that isn't perfectly flat.
Bambu Lab's presets set the first layer to half the nozzle's width, so 0.2 mm on a 0.4 mm nozzle. Prusa's profiles also use 0.20 mm. Our files follow the same rule: the Worry Stones print at 0.16 mm, but their first layer is 0.20 mm.
Leave it alone. If a first layer won't stay down, the fix is almost never its height. Start with a clean plate, as covered in prints that won't stick to the bed.
Do thinner layers always look better?
No. Layer height only changes the up-and-down direction. Three things it does not fix:
- Flat tops and flat details. Prusa's guide points out that raised lettering lying flat, parallel to the plate, looks the same at any layer height. The same goes for a flat lid or a flat ornament face. Sharpness side to side comes from the nozzle's width, not the layer.
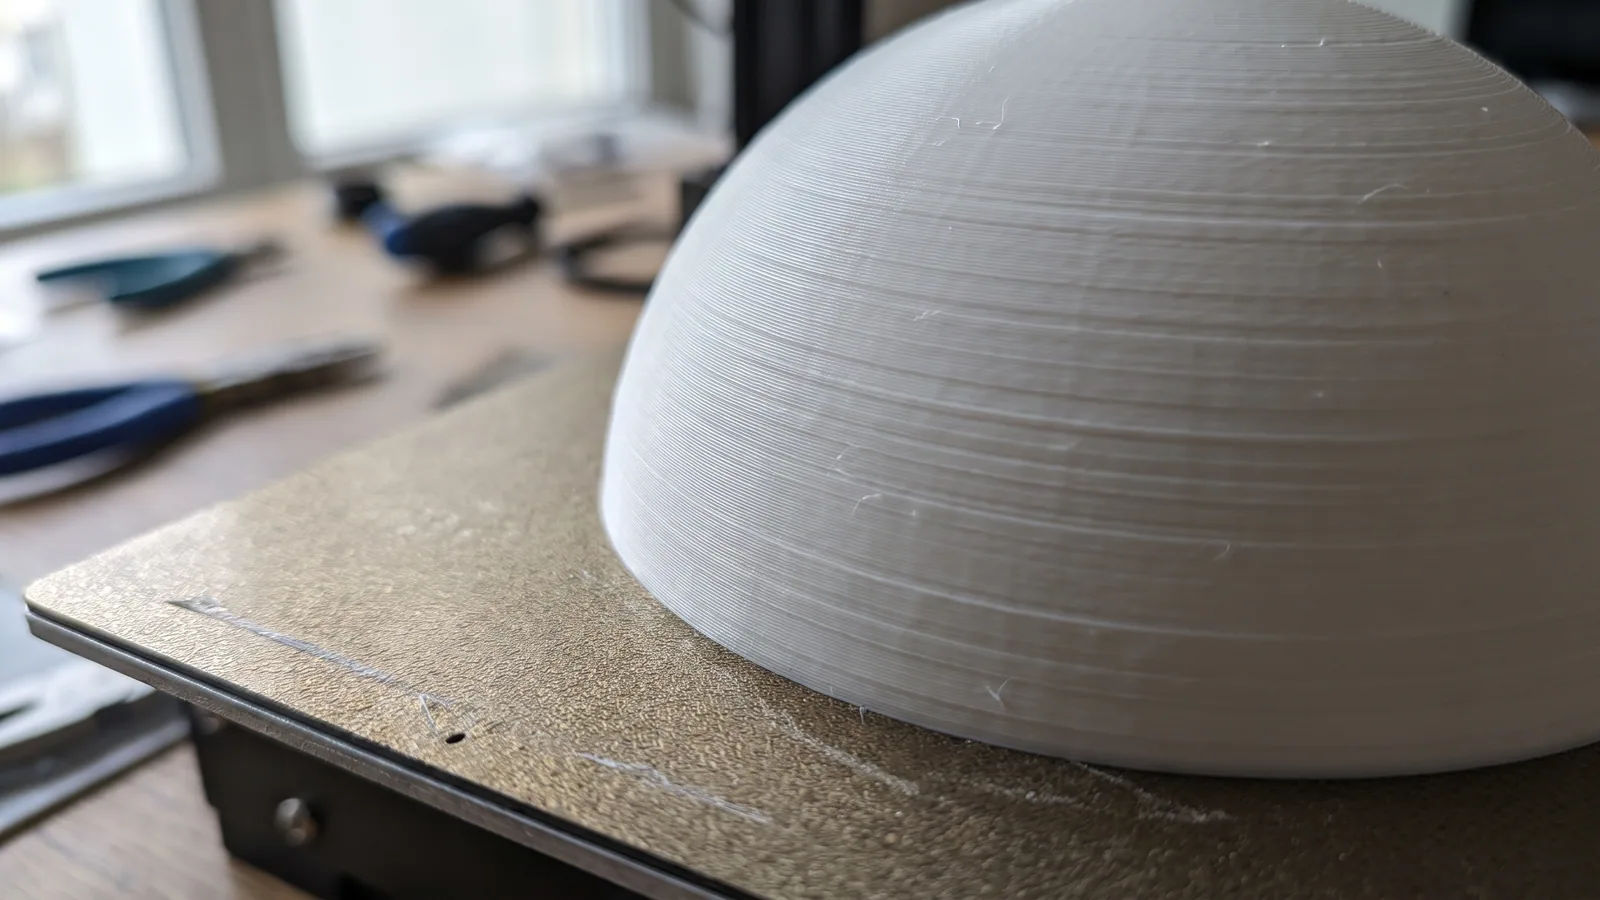
- Straight vertical walls. A plain upright wall looks nearly the same at 0.16 and 0.24 mm. Layer steps show on slopes and curves, and most of all on shallow ones near the top of a rounded shape.
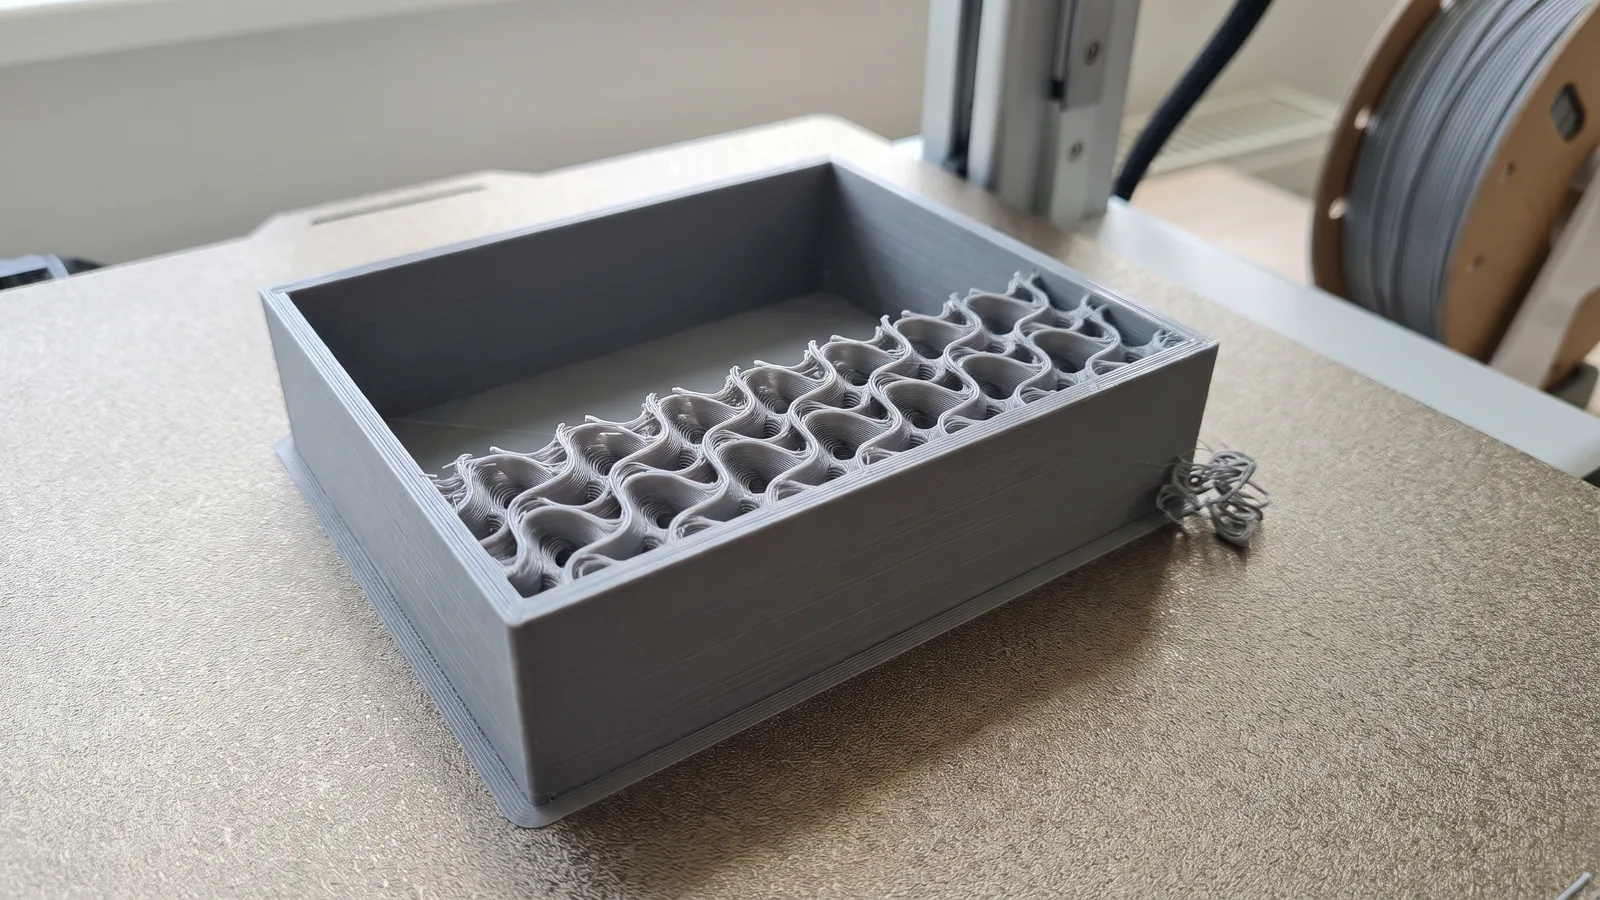
- Print problems. Strings, blobs, rough overhangs and wobbly walls come from other causes: damp filament, temperature, speed or a loose part. Thinner layers just make the same fault take longer to print. See stringing and PLA temperature first.
Layer height isn't the main strength setting either. Prusa's guide says the strength of a print mostly comes from the number of walls. If something needs to be tougher, add a wall or use more infill before you touch the layers.
One thing does change with thin layers: the solid top needs more of them. Prusa's example is 3 top layers at 0.3 mm against 9 at 0.1 mm for the same thickness. Slicer presets adjust this for you, which is another reason to pick a preset over typing a number.
How do you change layer height in Bambu Studio?
Layer height belongs to the "process", Bambu Studio's name for the group of print-quality settings.
- On the Prepare screen, find the Process section on the left.
- Open the preset list at the top of it. Each preset starts with its layer height, such as 0.16 mm or 0.20 mm. Picking one changes the layer height and the speeds that go with it.
- To set a number by hand instead, open the Quality tab. Layer height is listed there, along with the first layer height.
- Slice the plate and read the new print time before you send it.
If you open one of our 3MF projects, the layer height is already saved, including the designs that use more than one. New to the app? Bambu Studio for beginners walks through opening a project and printing it.
What is variable (adaptive) layer height?
It is a way to get both: thin layers only where they show, and thick layers everywhere else. Think of a dome on top of a tall box. The straight sides look fine at 0.24 mm, but the shallow curve at the top shows every step. Variable layer height prints the sides thick and the dome thin, in the same print.
In Bambu Studio you select the object, turn on Variable Layer Height and click Adaptive. A slider leans the result toward detail or toward speed, and a Smooth button evens out the changes between thick and thin.
Bambu's wiki lists two limits worth knowing before you rely on it:
- On a multicolor plate, every object has to use the same layer pattern, or the prime tower (the small waste block that keeps colors clean) can't be used. Our prime tower guide explains what that block does.
- It does not work with organic tree supports.
None of our project files uses it. For flat-printed decor and toys, one sensible layer height per part does the job with less to go wrong.
A short layer height checklist
- Start at 0.20 mm on a 0.4 mm nozzle.
- Go to 0.16 or 0.12 mm only when the item is small, curved and seen or held up close.
- Go to 0.24 or 0.28 mm for large simple parts, hidden parts and test prints.
- Leave the first layer at 0.20 mm.
- Change the preset, not just the number, so the speeds and top layers follow.
- Slice both ways and compare the time before you commit a whole batch.
Or skip the choice: every design in our catalog opens with its layer heights, plate and layout already saved, with STL files included for other slicers. The license lets you sell the physical prints you make, with no limit and no royalty; the details are on the license page. Questions about what comes in a download are answered in the FAQ.
Designs from this guide
 $2.49
3ML-052 · Worry stone
Worry Stones
Six pocket worry stones with a smooth, deep thumb dip: a classic oval, a rippled oval, a heart, a leaf, a paw and a turtle. STL + 3MF · 8.4 MB View model $3.79
3ML-013 · Flexi snake
Peppermint Snake
A wiggly snake made of peppermint candies, with black eyes and a red tongue. It prints in one piece, already joined, so there's nothing to put together. STL + 3MF · 23 MB View model $5.99
3ML-040 · Marble run
Christmas Tree Marble Run
Drop a marble in by the star and watch it roll three and a half turns around the tree into a red present tray. STL + 3MF · 22 MB View model $3.79
3ML-034 · Fidget clicker
Penguin Clicker
A chubby Christmas penguin in a red knit beanie whose little ivory pompom is a button that clicks and springs back, on a keyring loop. STL + 3MF · 5.9 MB View model $3.79
3ML-017 · Candy bowl
Cornucopia Candy Bowl
A woven-look cornucopia horn that holds wrapped candy, with a curled tail and a harvest cluster that hooks over the rim. STL + 3MF · 12 MB View modelQuestions
What is the best layer height for 3D printing?
For a standard 0.4 mm nozzle, 0.2 mm suits almost everything. It looks clean from arm's length and prints in a sensible time. Go finer (0.12 to 0.16 mm) only for small curved items seen up close, and thicker (0.24 to 0.28 mm) for large or hidden parts. 558 of our 589 project files use 0.2 mm.
Is 0.2 mm or 0.16 mm layer height better?
0.2 mm is better for most prints because it is faster and looks nearly the same from a normal distance. 0.16 mm is worth it for things held in the hand or with shallow curves, where layer steps show most. We use 0.16 mm for our Worry Stones and Peppermint Snake, and 0.2 mm for most other designs.
Does a lower layer height make a print stronger?
Not in a way worth planning around. Prusa's guide says the strength of a print mostly comes from the number of walls. If a part needs to be tougher, add a wall or raise the infill first. Choose layer height for looks and print time.
How much longer does a print take at a lower layer height?
Roughly in proportion to the extra layers. In Bambu Lab's own example, one small model took 36 minutes at 0.20 mm, 1 hour 19 minutes at 0.08 mm and 28 minutes at 0.28 mm. Slice the model both ways and compare the times before printing a batch.
What is the maximum layer height for a 0.4 mm nozzle?
Bambu Lab gives 0.28 mm, which is 70% of the nozzle's width. Prusa says to stay below 80%, about 0.32 mm. Above that, each line of plastic is not pressed firmly onto the layer below. Treat 0.28 mm as the practical top for a 0.4 mm nozzle.
What should the first layer height be?
0.2 mm on a 0.4 mm nozzle. Bambu Lab's presets set the first layer to half the nozzle's width, and Prusa's profiles use 0.20 mm. A thicker first layer grips the plate better. All 587 of our project files for a 0.4 mm nozzle use a 0.2 mm first layer.
Does layer height change how much filament a print uses?
Hardly at all. The object is the same size at any layer height, so it holds about the same amount of plastic. Layer height mostly changes print time. On multicolor prints, thicker layers mean fewer color changes, and each change wastes a little filament.
What is adaptive layer height in Bambu Studio?
It is a tool that varies the layer height within one object: thin layers on shallow curves where steps show, thicker layers on straight sides. Select the object, turn on Variable Layer Height and click Adaptive. Bambu's wiki notes it does not work with organic tree supports.
Sources
Filed under Printing and slicing