Print-in-Place and Flexi Prints: What It Means and How to Print Them Without Fused Joints
Flexi animals and printed spinners come off the plate already moving, unless a gap meant to be air fills with plastic. Here is how they work and how to keep the joints free.
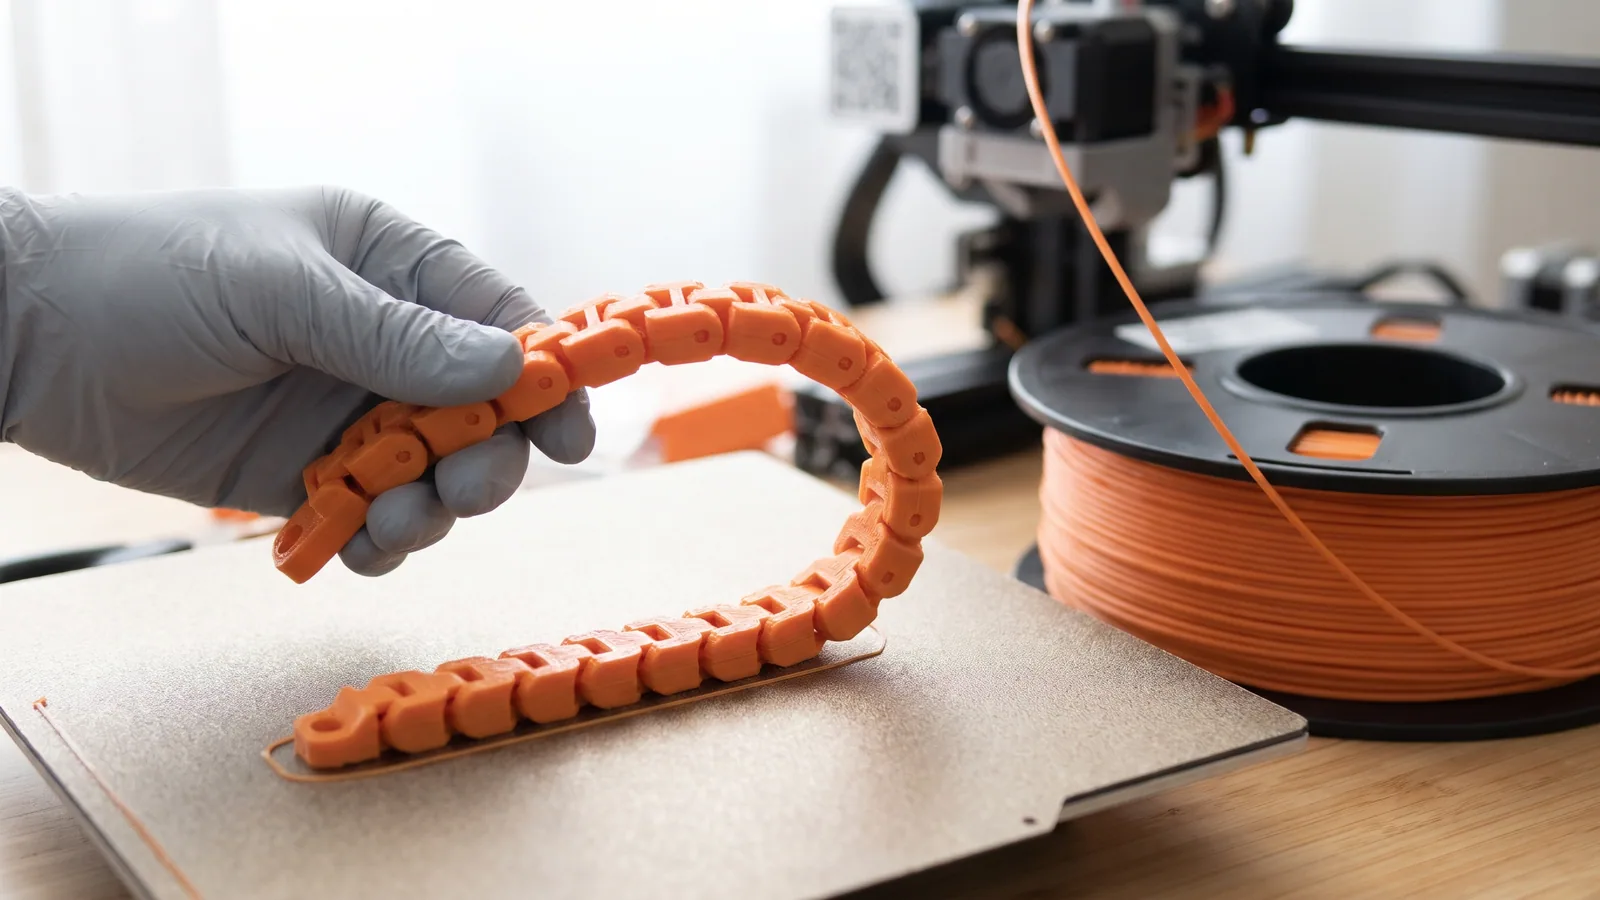
Flexi snakes, wiggly octopuses and spinners that come off the plate already spinning are some of the most fun things a 3D printer makes. They are also the prints most likely to come out as one solid lump. The reason is almost always the same: a gap that was meant to be air got filled with plastic.
This guide explains what "print in place" means in plain English, how the joints work, the five things that fuse them, and what to do when a fresh print feels stiff. The examples are our own print-in-place designs, with the real print times and filament from their Bambu Studio projects.
What does print in place mean?
A print-in-place model is printed with its moving parts already put together. Hinges, joints, a spinning hub or a sliding piece are all printed at the same time, side by side, with a thin gap of air between them. When the print finishes and cools, you lift it off the plate and it moves. There is nothing to glue, screw or snap together.
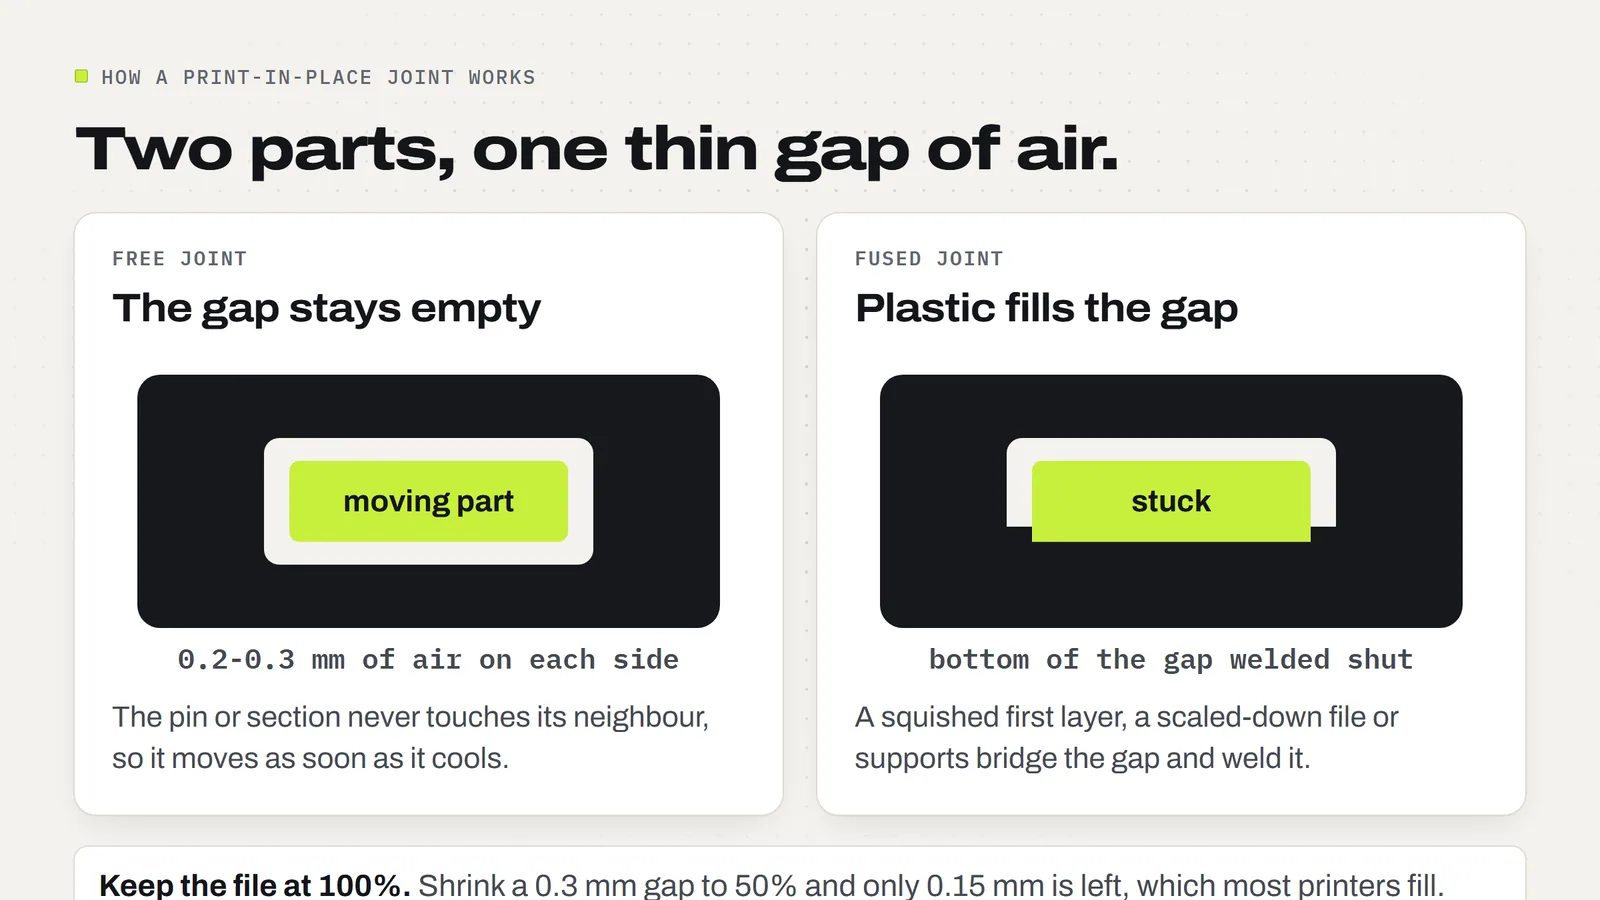
It works because the printer never joins the two surfaces. The designer leaves a small space between, say, a pin and the hole around it, and the slicer prints each side as its own wall. As long as that space stays empty, the parts are separate pieces that happen to be locked around each other.
That is also why print-in-place files are fussier than ordinary ones. A gap of a few tenths of a millimetre is close to what your printer can draw. Anything that adds a little extra plastic in the wrong place can bridge it.
What is a flexi print?
"Flexi" is the name makers use for articulated animals: snakes, dragons, octopuses, cats and fish that wiggle because they are cut into many small sections linked by hidden joints. The plastic doesn't bend. Each section swings a little against its neighbour, and a long row of small swings adds up to a body that curls and wiggles.
Almost every flexi is a print-in-place model. Not every print-in-place model is a flexi: fidget spinners with a printed bearing, clicker keychains and hinged boxes use the same idea for a different kind of movement.
Our Articulated Octopus is a good example of how many joints one print can hold. Each of its eight tentacles bends at six joints, so one print has 48 moving joints. It prints flat in one color, with no supports, in 5 h 33 min and 124 g of PLA.
How do print-in-place joints work?
Every print-in-place joint is a shape inside another shape, with clearance (the gap of air) all the way around. Guides for FDM printers with a standard 0.4 mm nozzle usually start the clearance at about 0.2 to 0.3 mm on each side. A lab at the University of Wisconsin-Madison found 0.2 mm worked on their printer and suggests starting at 0.3 mm and working down.
The joints come in a few common shapes:
- Side-to-side hinges. Used in flexi animals. Each section swings left and right but not up and down, which is why they wiggle well flat on a table and feel stiff if you twist them.
- A captive hub. Used in printed fidget spinners. The outer ring spins around a centre hub that is too wide to fall out. No metal bearing is needed.
- Pins in holes. Used for jaws and lids. Our Chattering Skull has 2.6 mm pins in 3.2 mm holes, which leaves 0.3 mm of air on each side.
- Printed springs. Used in clicker keychains. A thin springy arm pushes a button back up after you press it.
The designer picks the gap for a given scale and nozzle. You can't see it in the preview, and the slicer won't warn you if something you change closes it. That is the whole reason most print-in-place failures happen.
How long do print-in-place prints take?
Less than you might expect, because there is no assembly time afterwards. Here are our print-in-place designs with the estimates saved in their Bambu Studio projects.
| Design | What moves | Print time | Filament | Colors |
|---|---|---|---|---|
| Autumn Leaf Fidget Spinner | Spins on a printed hub | 1 h 3 min | 29 g | 1 |
| Turkey Fidget Spinner | Spins on a printed hub | 1 h 19 min | 38 g | 1 |
| Snowflake Fidget Spinner | Spins on a printed hub | 1 h 28 min | 37 g | 1 |
| Gingerbread Fidget Spinner | Spins on a printed hub | 1 h 40 min | 39 g | 2 (AMS) |
| Articulated Crystal Dragon | Body and tail wiggle | 2 h 55 min | 67 g | 1 |
| Articulated Rattlesnake | 16 sections wiggle | 3 h 25 min | 50 g | 3 (pauses, no AMS) |
| Articulated Cat | Body and tail wiggle | 3 h 56 min | 86 g | 2 (AMS) |
| Peppermint Snake (large) | Whole body wiggles | 4 h 51 min | 55 g | 3 (AMS) |
| Articulated Octopus | 48 tentacle joints | 5 h 33 min | 124 g | 1 |
Every one of them prints with supports off. The multicolor versions also come as STL files you can print in a single color. If you're not sure whether a design needs an AMS (Bambu's automatic filament changer), our guide to one-color, filament-swap and multicolor prints explains the difference.
Why did my print-in-place joints fuse together?
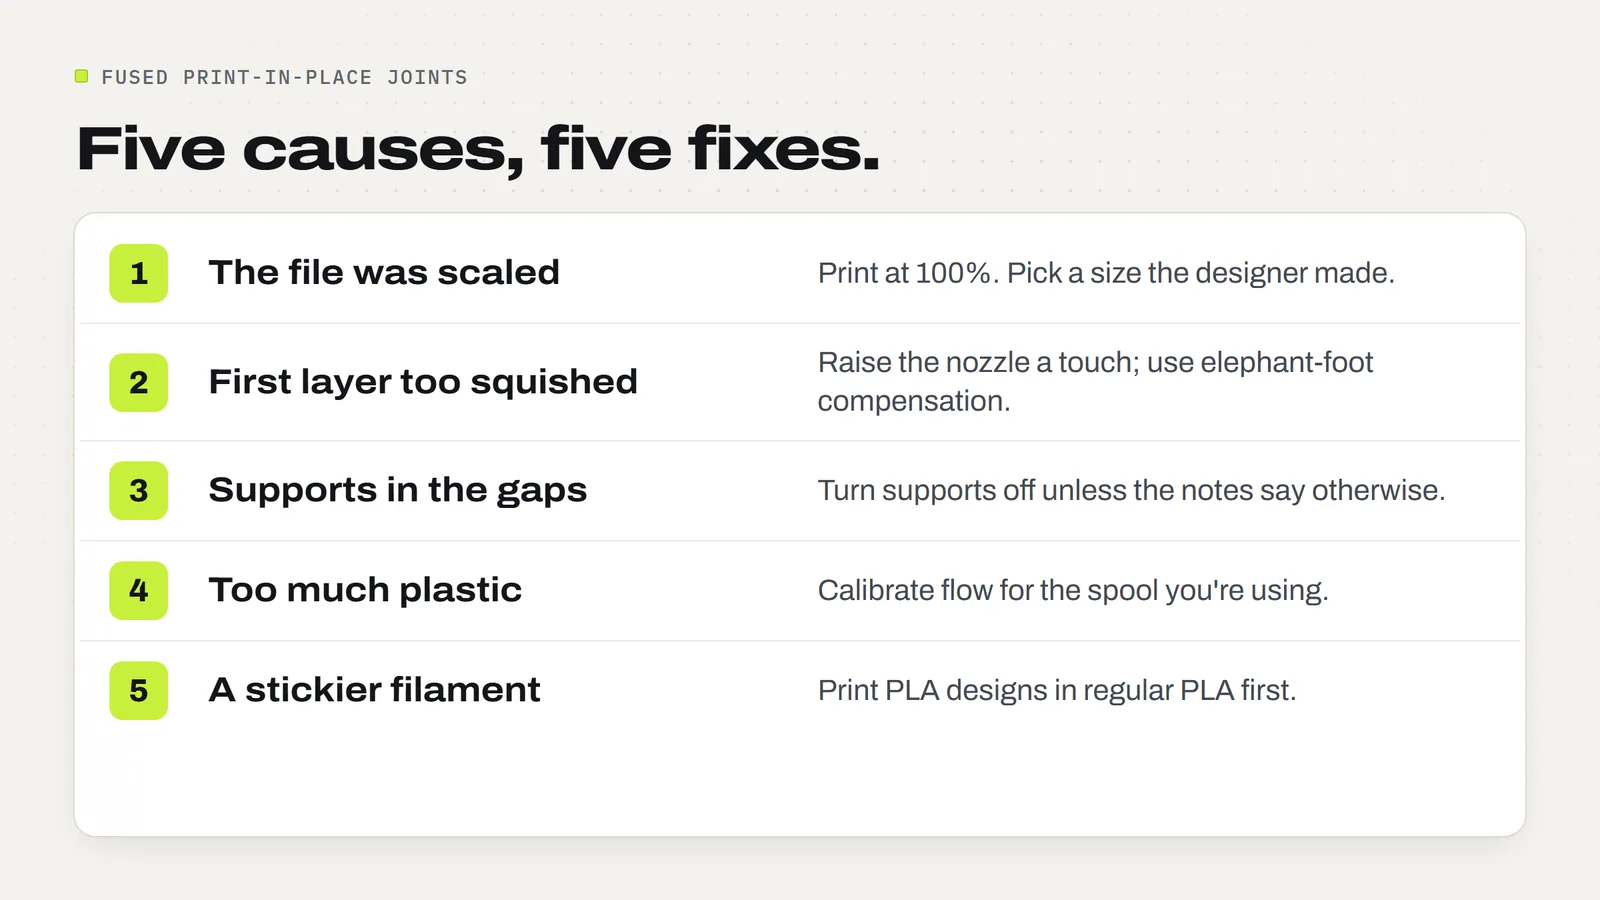
Nearly every fused joint comes from one of five causes. Check them in this order, because the first two are the most common.
- The model was scaled. Shrinking a print-in-place file shrinks the gaps too. A 0.3 mm gap at 80% becomes 0.24 mm, and at 50% it becomes 0.15 mm, which most printers will fill. Growing it makes the gaps wider and the joints loose. Keep it at 100%.
- The first layer is too squished. The first layer is pressed into the plate so it sticks, and it spreads a little wider than the layers above. Makers call the bulge "elephant's foot". On a flexi lying flat, that bottom layer is exactly where the joints are, so the extra spread welds them together. Elephant-foot compensation in your slicer pulls the first layer in slightly; a good Z offset (nozzle height) matters too.
- Supports went into the gaps. If supports are switched on, the slicer may fill a joint with support material that can't be pulled out. Print-in-place files are designed to print without them. Turn supports off unless the design's notes say otherwise.
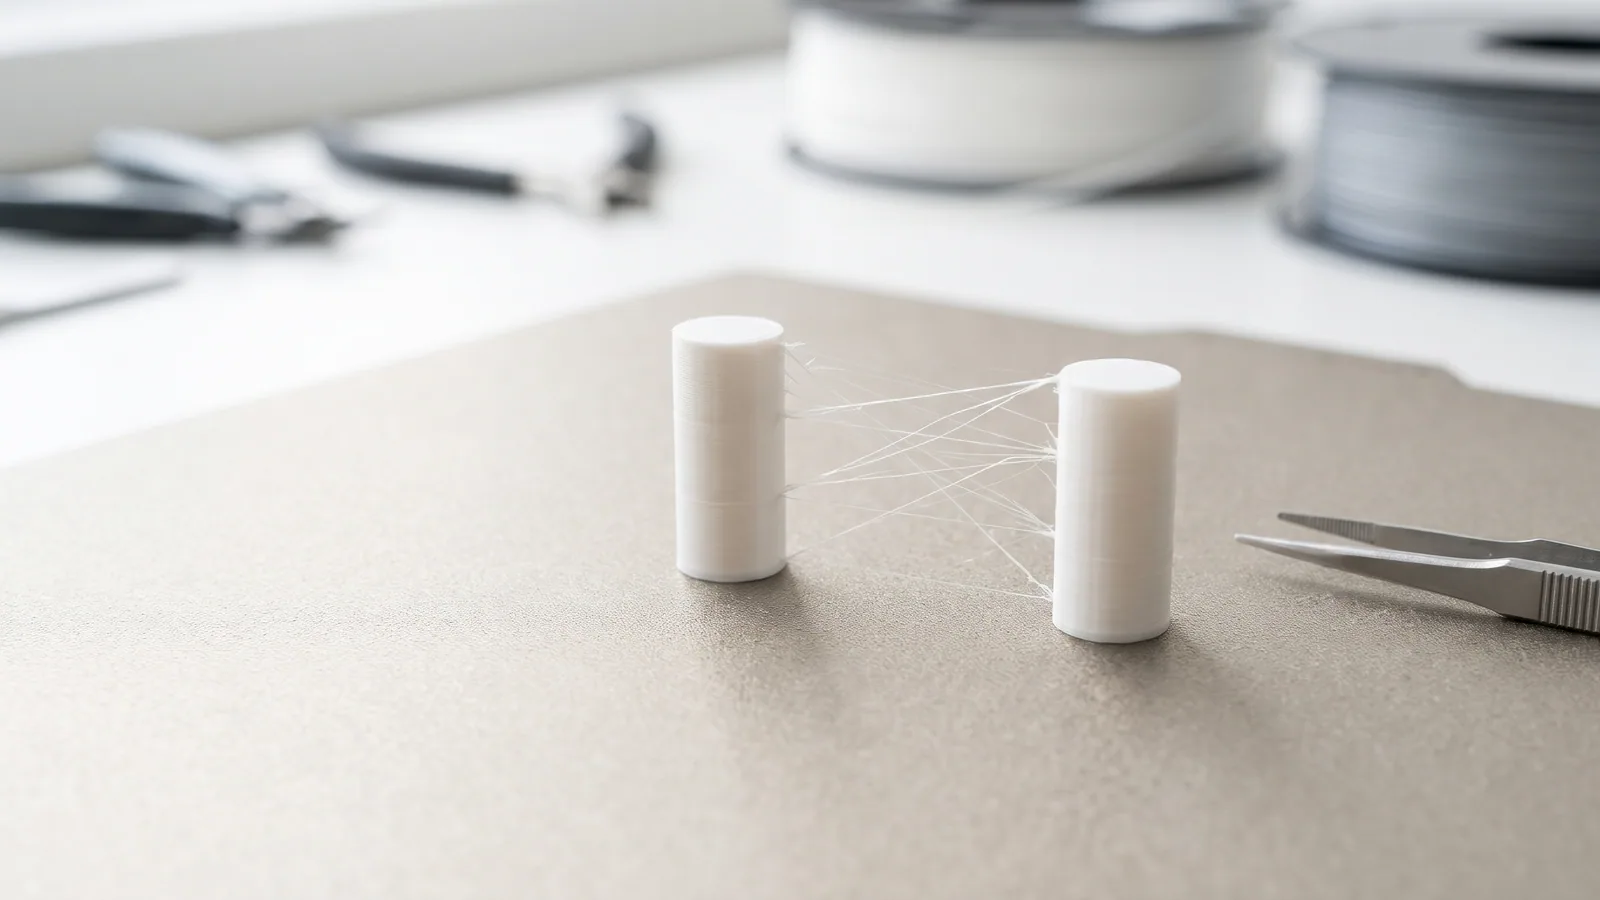
- Too much plastic. Over-extrusion (the printer pushing out a little more filament than it should) makes every wall slightly fatter. On a normal print you'd never notice. On a 0.2 mm gap it's the difference between a joint and a weld. A flow calibration fixes it.
- A different filament. PETG is stickier than PLA and tends to string across small gaps. One print guide suggests starting PETG joints wider, at 0.25 to 0.35 mm per side. Silk and translucent PLA can also fit differently. If a design was made in regular PLA, print it in regular PLA first.
Don't move the parts around on the plate. In a print-in-place file, every section is already exactly where it must be. Moving, rotating or "arranging" one piece breaks the joint it sits in.
How do you print a flexi without fusing the joints?
If you're printing one of our designs from its 3MF project, most of this is already done for you: the scale, orientation, supports and cooling are saved in the file. (New to 3MF projects? Start with what a 3MF file is and how to open one in Bambu Studio.) Here is the short checklist either way.
- Keep the scale at 100%. If you want a smaller or bigger version, look for one the designer made. Our Peppermint Snake, for example, comes as one large snake or as minis, two or six to a plate, so you never need to rescale it.
- Leave every part where it is. Don't auto-arrange the plate and don't split the object.
- Turn supports off unless the design says it needs them in a specific spot.
- Calibrate flow for the filament you're using, especially a new brand.
- Check the first layer. Watch it go down. If lines look flattened and wide, raise the nozzle slightly or use elephant-foot compensation.
- Keep cooling on. Bridges over the joints sag without a fan, and sagging plastic can drop into a gap.
- Print by layer, not by object, if your slicer offers both. Our octopus and dragon files are set this way.
If you're using the STL in a different slicer, the same seven points apply. The settings our projects were made with are listed on each model page, so you can copy them.
How do you free a stiff print-in-place joint?
A new print often feels stiff, and that isn't the same as fused. Thin hairs of plastic can bridge a gap without welding it, and they break free with a little patience.
- Let it cool completely before you take it off the plate. Warm PLA is softer and joints can bend out of shape.
- Lift it with the body supported, not by a tail tip or a tentacle.
- Wiggle two neighbouring sections gently in the direction the joint is meant to move, then the next pair. Work out from the head to the tip.
- Move the way it was designed. Flexi hinges swing side to side. Twisting them upward or pulling sections apart snaps them.
- Don't pry or oil it. On a spinner, a tool forced between the hub and ring will break one or the other. If a spinner won't turn, check scale and supports, then reprint.
If one joint stays stuck after gentle wiggling, it's probably welded. That's a reprint, after checking the five causes above. A single stiff joint near the plate usually points to the first layer; stiffness everywhere usually points to scale or flow.
Are print-in-place fidgets good to sell?
They're among the easiest prints to sell in person, because people pick them up and play with them. They have no assembly time, they print in one go, and most need just one color. In our guide to prints that sell at craft fairs, flexi snakes and fidget keychains sit near the top for exactly that reason, and our pricing guide shows how to work out what to charge.
Every 3MF Labs design comes with a license that lets you sell the physical prints you make, with no limit and no royalty. You can't share or resell the files. The full terms are on the license page, and our selling guide covers the practical side.
Two honest notes for sellers. First, these are toys made of small parts: a broken joint or a snapped spring can become a choking hazard, so keep them away from young children and pets, and say so at your table. Second, PLA softens with heat, so don't leave a box of flexis in a hot car. Our PLA guide explains the softening point.
Looking for one to start with? The spinners are the quickest: 1 h 3 min to 1 h 40 min each, or a plate of four in 3 h 50 min to 5 h 43 min depending on the design. Browse every 3MF Labs design to see the rest.
Designs from this guide
 $3.79
3ML-068 · Flexi octopus
Articulated Octopus
A smiling coral octopus with eight chunky tentacles that wiggle side to side and curl at the tips. It prints in one piece, already joined, so there's nothing to put together. STL + 3MF · 5.2 MB View model $2.49
3ML-067 · Fidget spinner
Snowflake Fidget Spinner
A six-armed snowflake that spins around its centre hub. It prints in place in one piece: no metal bearing, no assembly. STL + 3MF · 8.2 MB View model $3.79
3ML-013 · Flexi snake
Peppermint Snake
A wiggly snake made of peppermint candies, with black eyes and a red tongue. It prints in one piece, already joined, so there's nothing to put together. STL + 3MF · 23 MB View model $3.79
3ML-063 · Flexi snake
Articulated Rattlesnake
A friendly cartoon rattlesnake that wiggles from head to rattle. It prints in one piece, already joined, so there's nothing to put together. STL + 3MF · 4.6 MB View modelQuestions
What does print in place mean?
A print-in-place model prints with its moving parts already put together, separated by a thin gap of air. When it cools you lift it off the plate and it moves, with nothing to glue or assemble.
What does flexi mean in 3D printing?
A flexi is an articulated animal, like a snake, dragon or octopus, cut into many sections linked by hidden joints. The plastic doesn't bend; each section swings a little against its neighbour, so the whole body wiggles.
Why are my print-in-place joints fused?
Usually one of five things filled the gap: the model was scaled down, the first layer was squished (elephant's foot), supports went into the joints, the printer over-extruded, or a stickier filament such as PETG was used. Check scale and first layer first.
Can you scale a print-in-place model?
Not safely. Scaling changes the gaps along with the model: shrinking a 0.3 mm gap to 50% leaves 0.15 mm, which most printers fill, and enlarging it makes the joints loose. Use a size the designer made.
Do print-in-place models need supports?
Most don't, and supports can fill the joints with material you can't remove. Leave supports off unless the design's notes ask for them in a specific spot.
How do you loosen a stiff flexi print?
Let it cool fully, lift it with the body supported, then wiggle neighbouring sections gently in the direction they're meant to move, working from the head to the tip. Don't twist, pry or pull sections apart.
Can I print print-in-place models in PETG?
You can, but PETG is stickier than PLA and more likely to bridge small gaps. Designs made for PLA print most reliably in regular PLA. One guide suggests starting PETG joints at 0.25 to 0.35 mm of clearance per side.
How long does a print-in-place fidget take to print?
Our printed fidget spinners take 1 h 3 min to 1 h 40 min each with 29 to 39 g of PLA. Flexi animals take longer: about 3 to 5.5 hours for a snake, cat, dragon or octopus.
Sources
Filed under Printing and slicing